Attention! Images are for informational purposes only and may differ from what appears on your screen.
1. Launch the App
- After launching the SmartPatrol app on your device, wait for it to load and press the "Get Started" button to proceed to the login screen (Image 1).
2. Log In
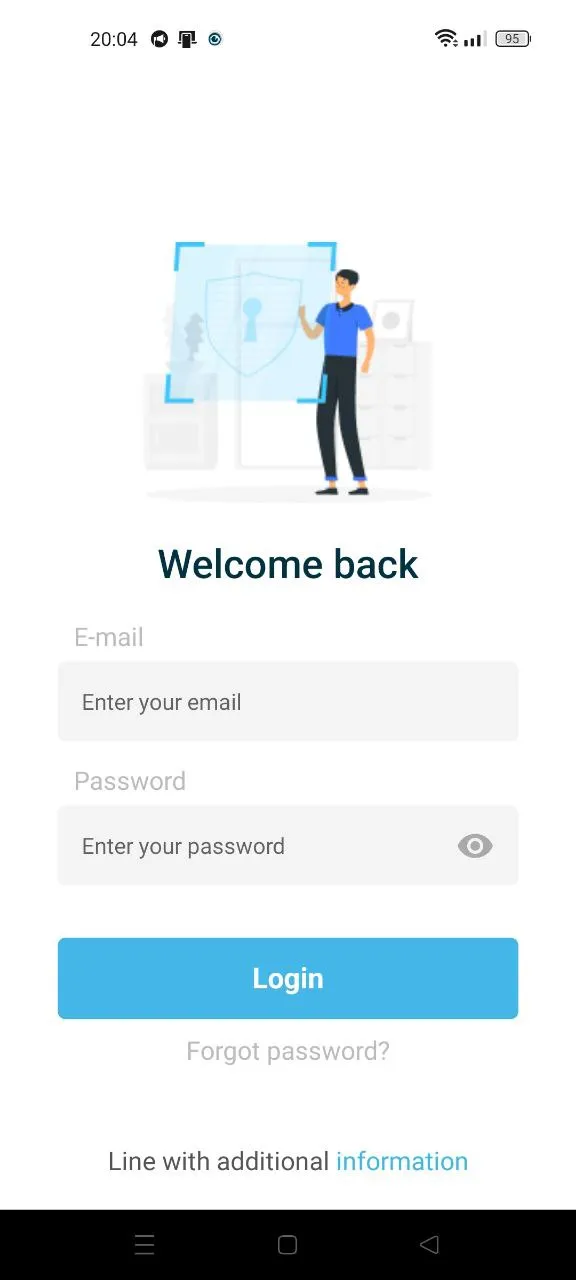
- Enter your personal login (email) and password in the corresponding fields (Image 2).
3. Access the Menu
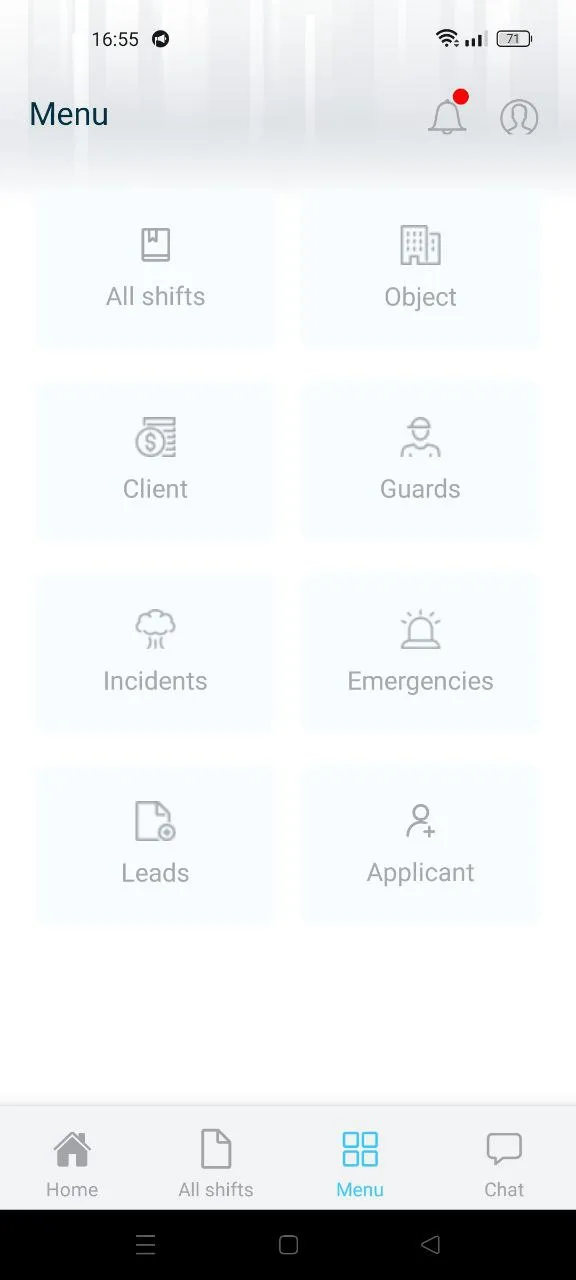
- Navigate to the bottom menu and click “Menu” to access the control panel.
4. Select Client Tab
- Click on the tab “Client” for creating and managing clients (Image 3).
5. Add New Client
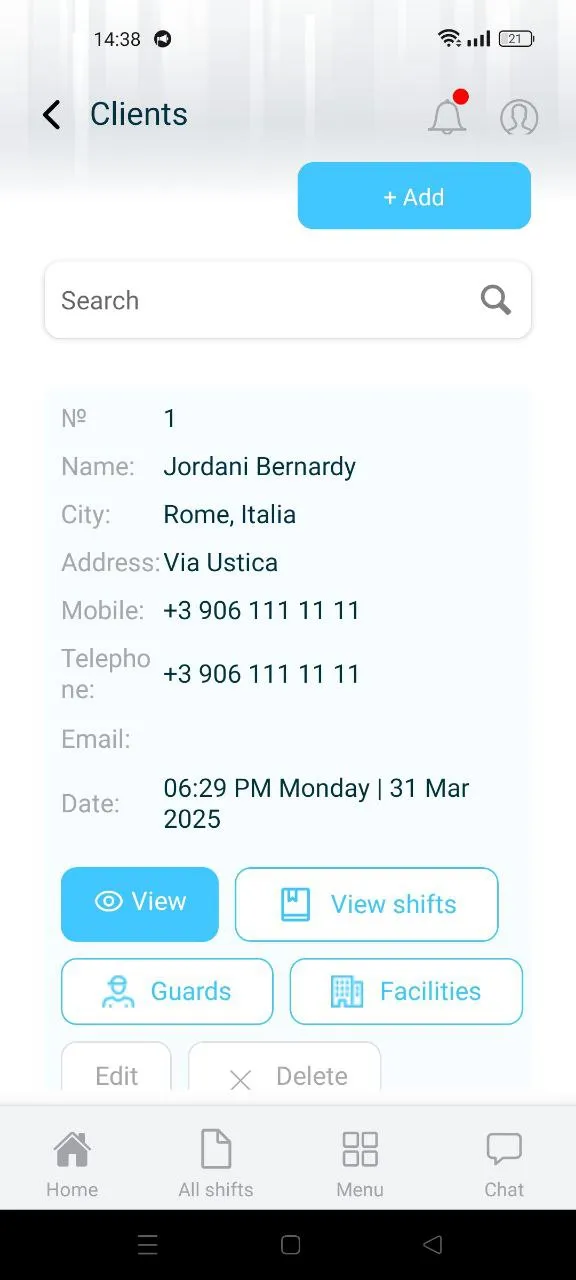
- This tab displays all created client profiles (Image 4). To create a new profile, press the “+ Add” button.
6. Fill in Client Details
- Fill in the corresponding fields:
- Name of the client.
- City.
- Address.
- Mobile phone number.
- E-mail.
- Company phone number.
- Image of a client (note that the image must be in .jpg or .png formats and not exceed 1 MB).
- Select the clients object (note that you can choose multiple options).
- Enter any description about this client.
7. Save Profile
- Click “Save” button to finish creating the client profile.
Note:
- You can export client info in a .xlsx file by pressing “Export a file”.
