Attention! Images are for informational purposes only and may differ from what appears on your screen.
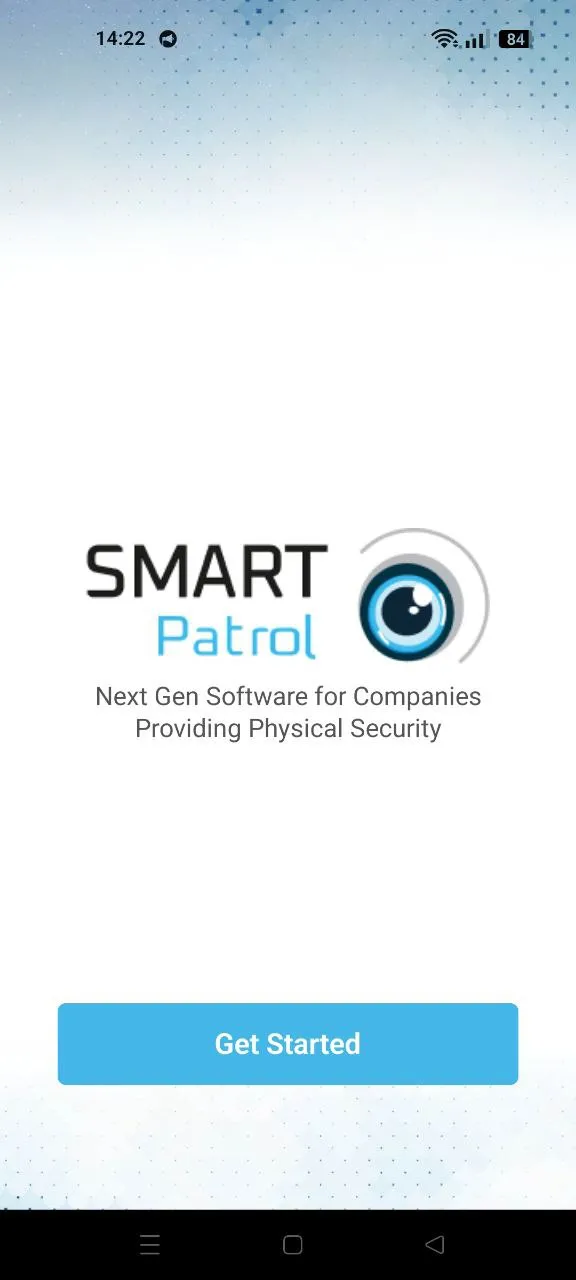
1. Launch the App
- After launching the SmartPatrol app on your device, wait for it to load and press the "Get Started" button to proceed to the login screen (Image 1).
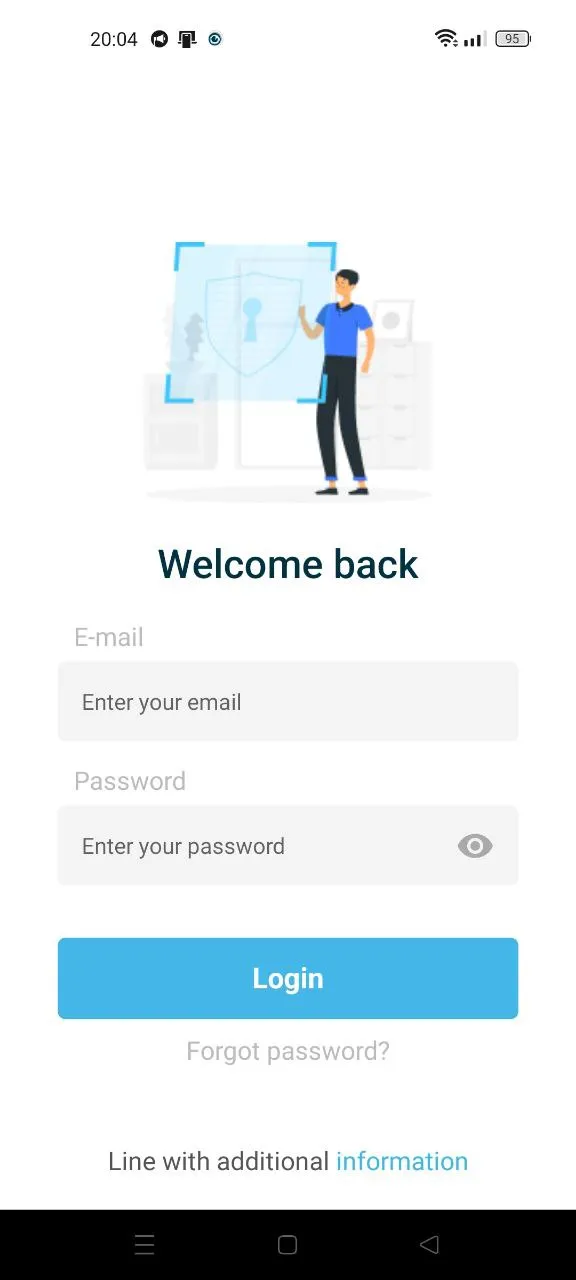
2. Log In
- Enter your personal login (email) and password in the corresponding fields (Image 2).
3. Access the Menu
- Navigate to the bottom menu and click “Menu” to access the control panel.
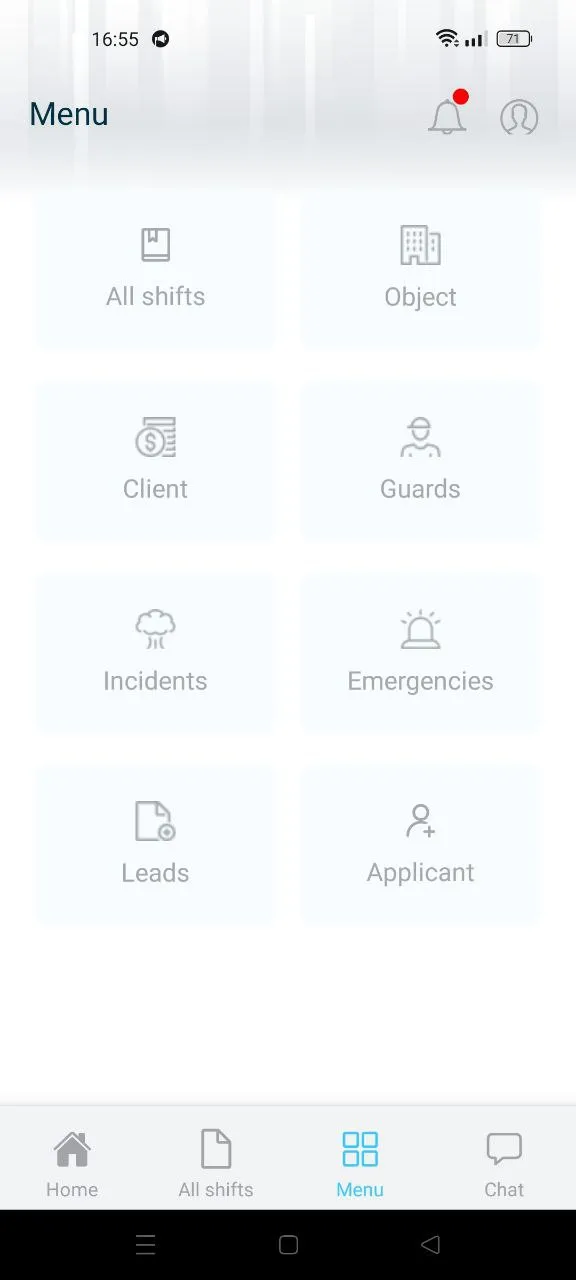
4. Select Client Tab
- Click on the tab “Client” for creating and managing existing clients (Image 3).
5. Search Clients
- You can search existing clients via the search bar.
6. View Client Details
- Each client in the list displays the following details (Image 4):
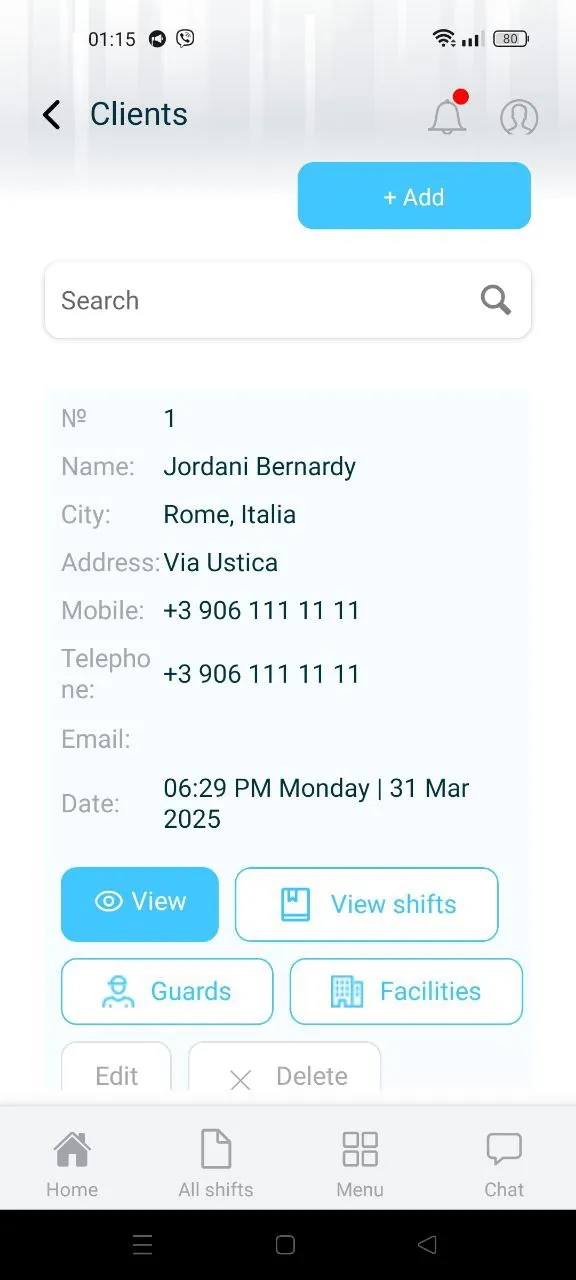
- Client serial number.
- Clients name.
- Clients city.
- Clients address.
- Clients mobile phone.
- Clients office or company phone.
- Clients email address.
- Date of creation of the client’s profile.
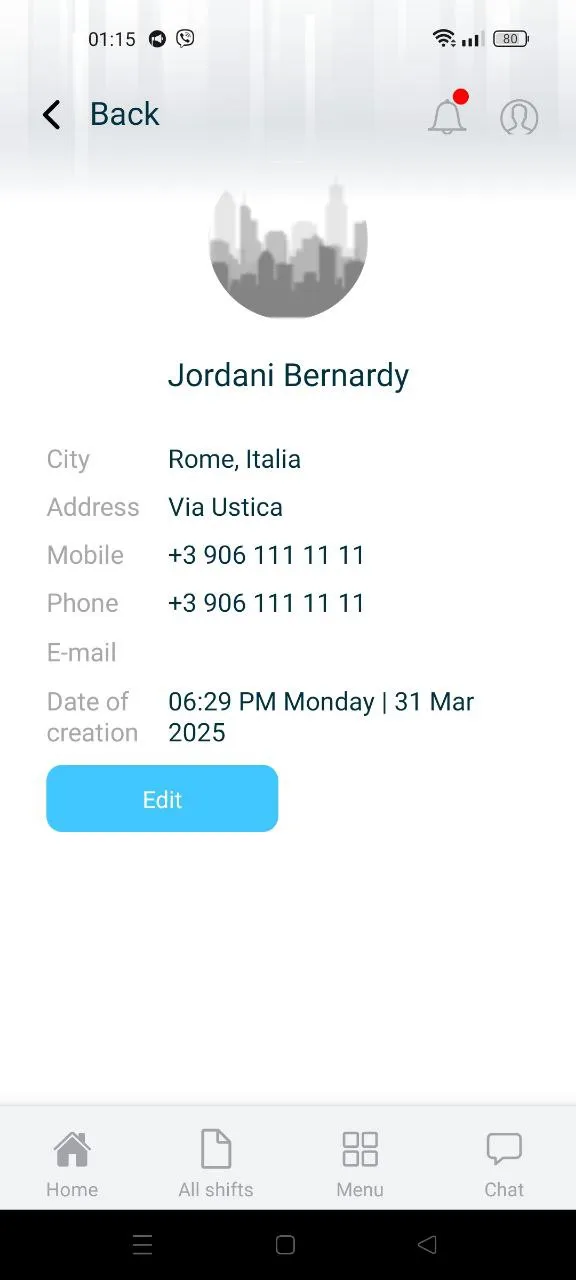
7. Manage Clients
- Each client also has six management buttons:
- The "View" button is used to view more detailed information about the client (Image 5). You can edit the client’s information by pressing the "Edit" button.
- The "View Shifts" button displays a list of shifts organized by facility.
- The "Guards" button shows the list of security officers assigned to the current client.
- The "Facilities" button provides a list of facilities linked to the current client.
- The "Edit" button allows you to modify the current client’s details.
- The “Delete” button will delete the current client.
