Attention! Images are for informational purposes only and may differ from what appears on your screen.
1. Launch the App
- After launching the HRM app on your device, wait for it to load and press the "Get Started" button to proceed to the login screen (Image 1).

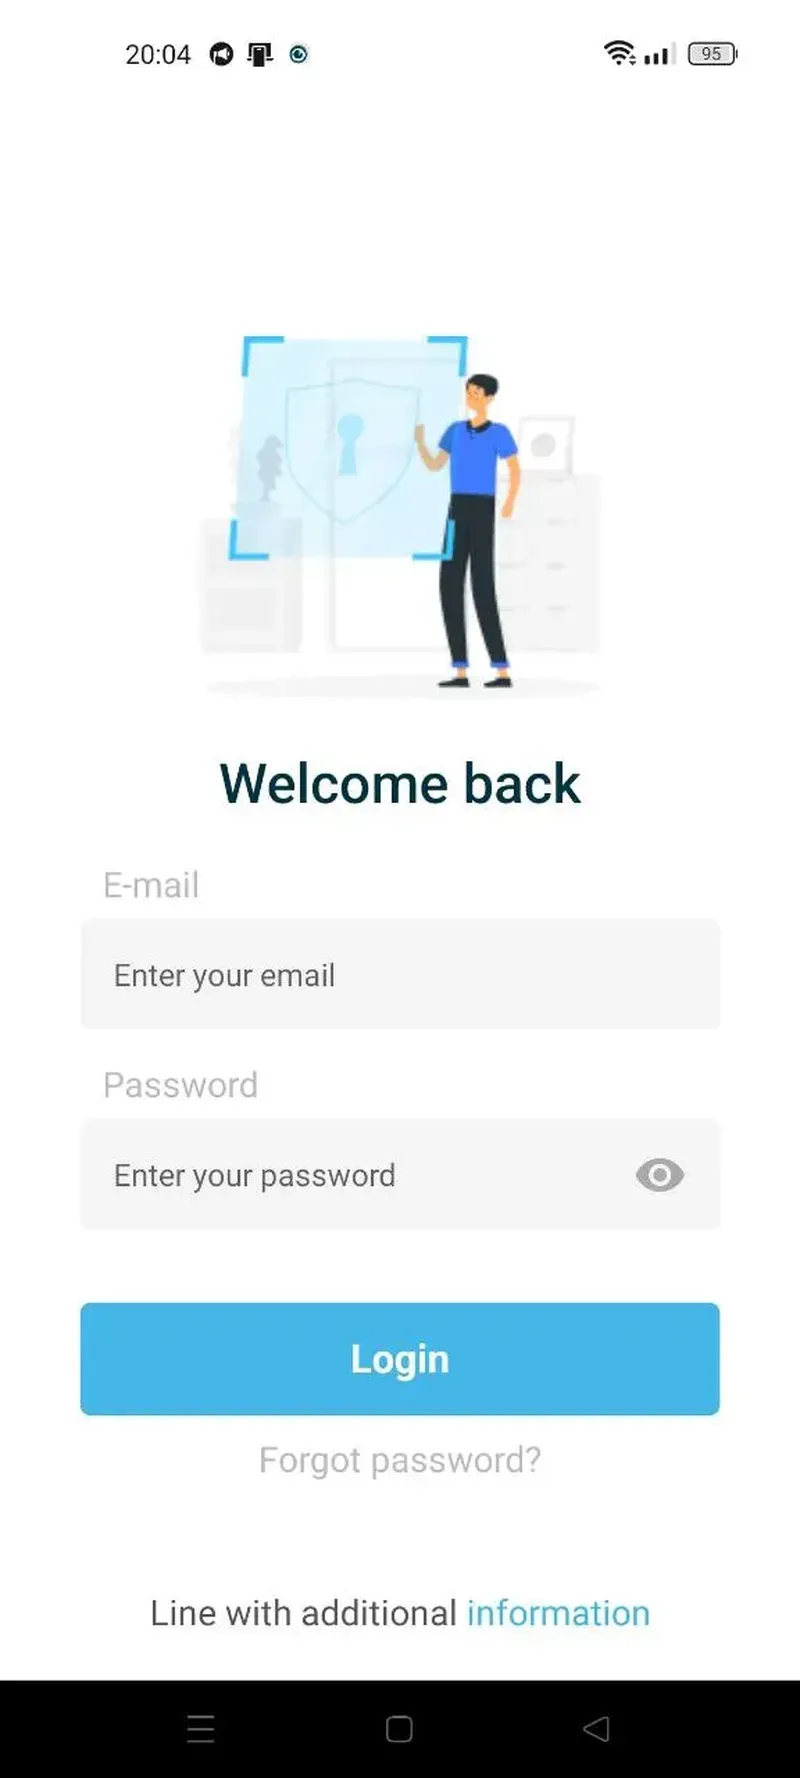
2. Log In
- Enter your personal login (email) and password in the corresponding fields (Image 2).
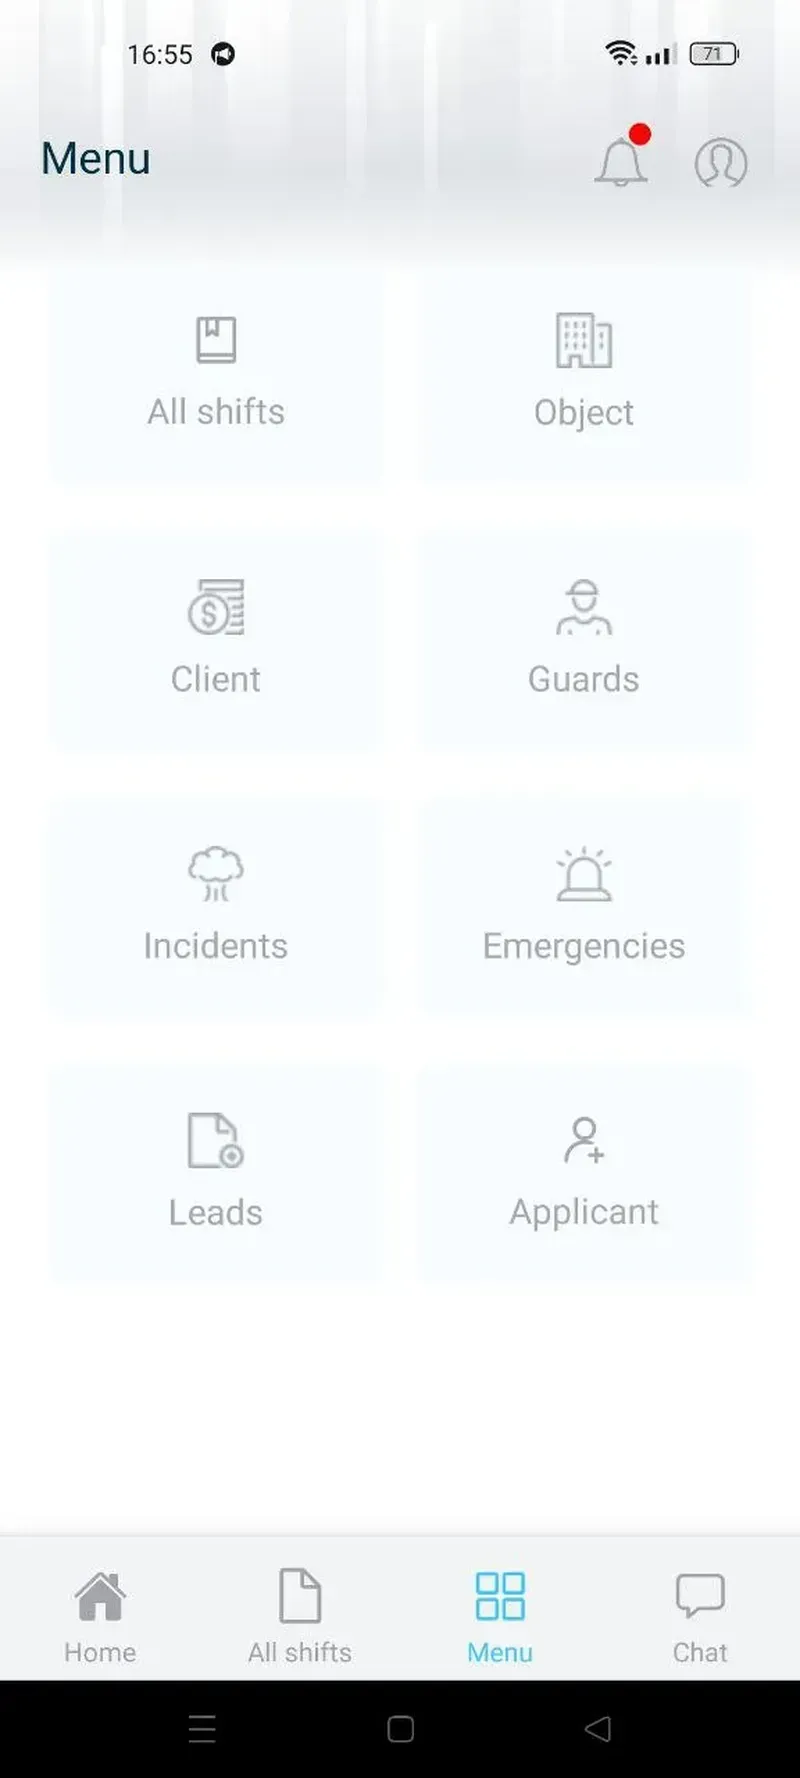
3. Navigate to the Applicants Section
- After logging in, you will be directed to the main dashboard. Click on the "Applicants" option in the left-hand sidebar to access the applicants management interface (Image 3).
4. Creating a Personnel Type
- Personnel types help categorize applicants (job seekers or potential clients) for better organization.
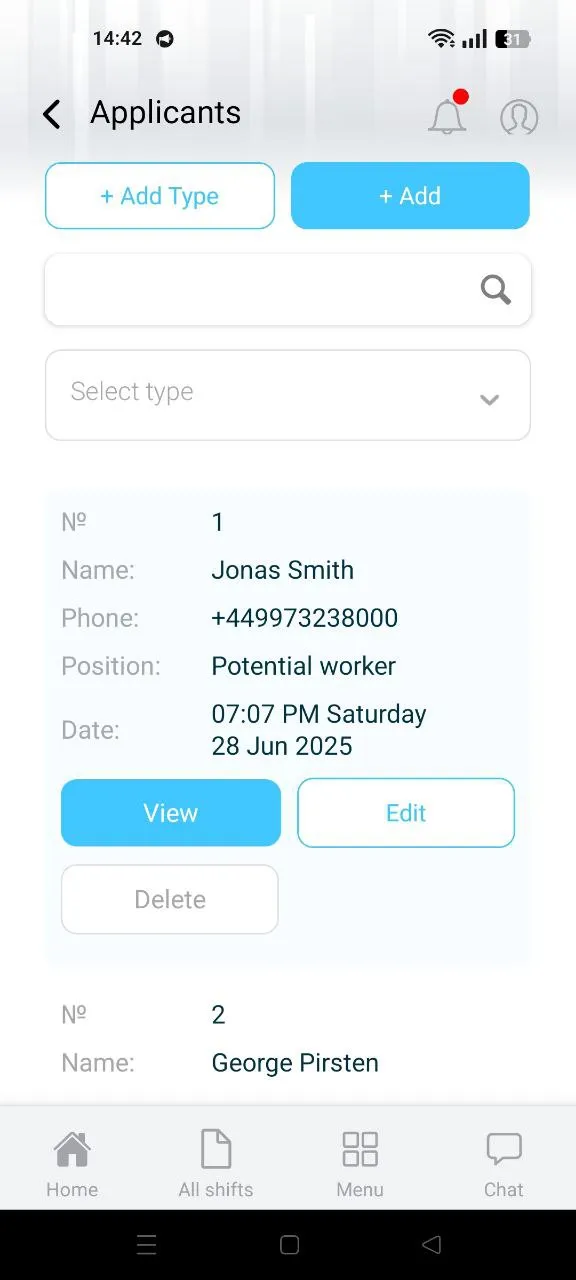
- In the Applicants section, click the "+ Add Type" button to view all types. Than clock "+Add" to create new one (Image 4).
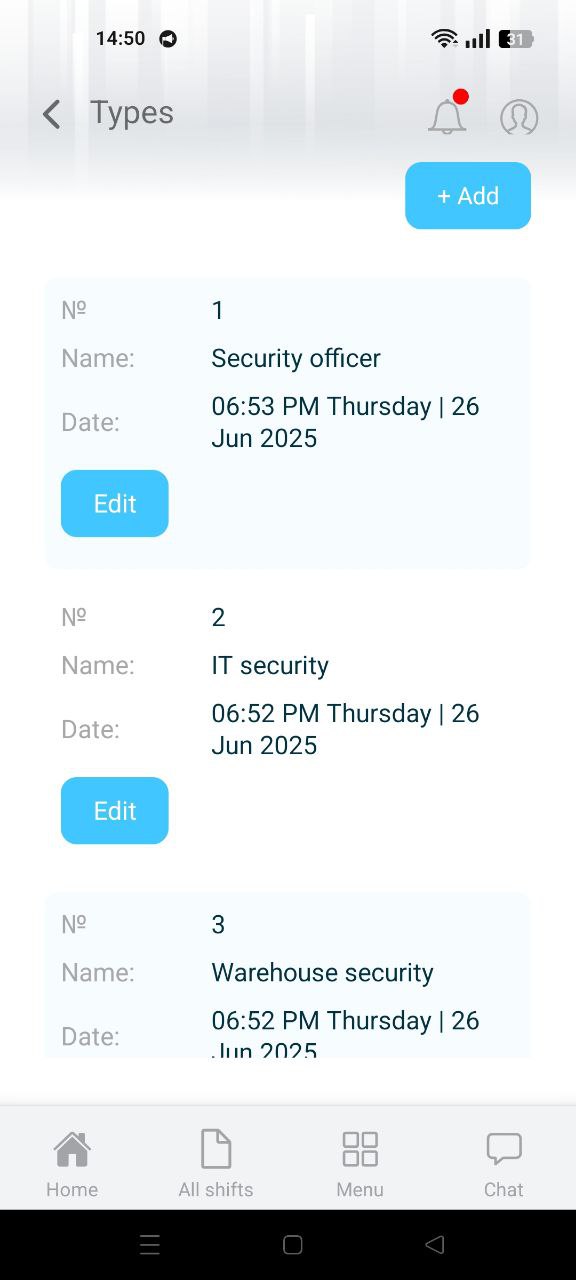
- Enter the type name (e.g., "Sales Staff" or "Technical Support") in the provided field.
- Click "Save" to create the type or "Cancel" to discard.
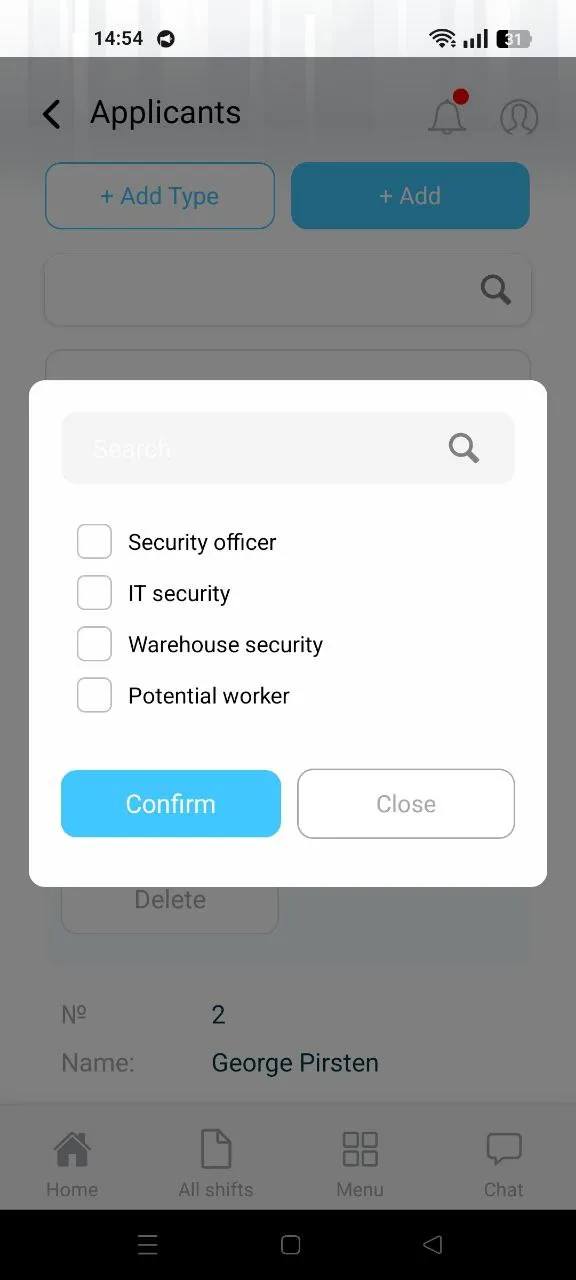
Notes: The created type can be selected when adding an applicant or used to filter applicants via the "Select Type" dropdown (Image 5).
5. Creating an Applicant
- An applicant represents a job seeker or potential client. Follow these steps to create one:
- Click the "New Applicant" button at the top of the Applicants page (Image 6).
- Fill out the form with the required fields (exact fields may vary):
a) Applicant Name: Enter the name of the applicant.
b) Contact Information: Provide email, phone, etc.
c) Type: Select the personnel type (e.g., "Sales Staff") from the dropdown.
d) Attach PDF Resume: Click "Attach PDF Resume" to upload the applicant’s resume (PDF format).
e) Additional Data: Add any notes or other relevant information.
- Click "Save" to add the applicant or "Cancel" to discard.
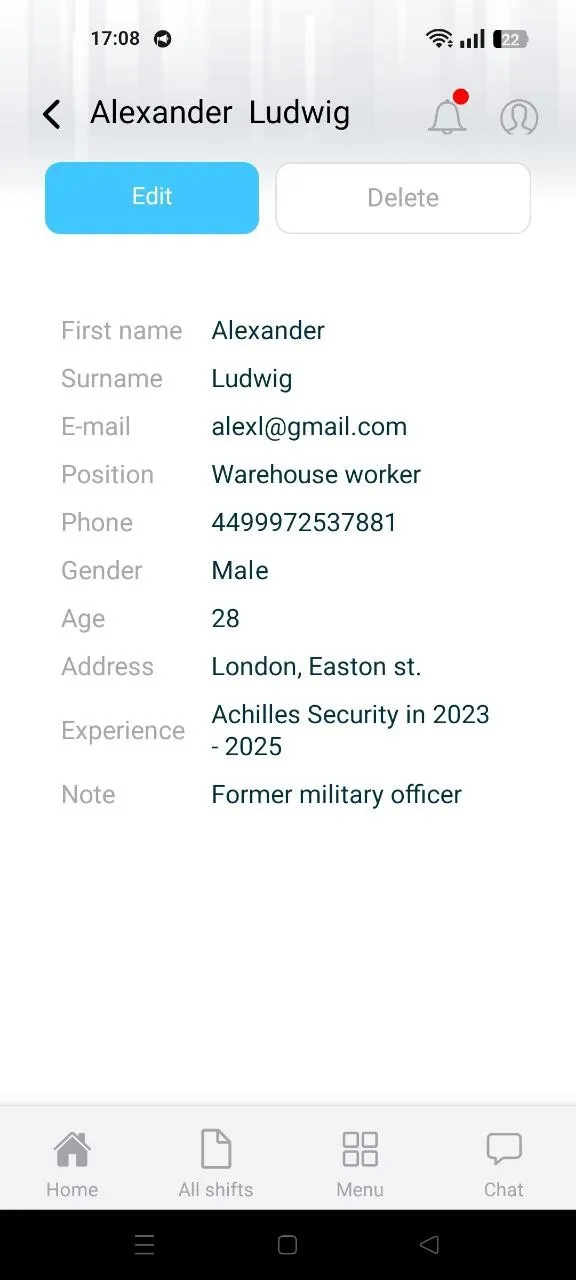
Notes: Use the search field at the top to find specific applicants. To manage applicants, each entry includes three options: "View" to see details (Image 7), "Edit" to modify fields, and "Delete" to remove the applicant.
6. Managing Applicants
- Manage existing applicants using the following actions:
- View: Click "View" next to an applicant to see their details.
- Edit: Click "Edit" to update the applicant’s information.
- Delete: Click "Delete" to remove the applicant from the system.
Notes: Use the "Select Type" dropdown to filter applicants by personnel type.
Additional Tips
- Updates: Regularly check for browser or system updates to ensure compatibility.
- Internet Connection: A stable connection is required for data synchronization.
- Interface Variations: The layout may differ slightly between browsers, but functionality remains consistent.
