Attention! Images are for informational purposes only and may differ from what appears on your screen.
Follow these steps to manage an existing security guard using the Smart Patrol web platform:
1. Access the Website
- Open your preferred web browser and navigate to https://smartpatrolapp.com.
2. Log In or Create an Account
- If you already have an account, enter your credentials (email and password) on the login page and click "Log In."
- If you don’t have an account, click "Create Account," fill in the required details (e.g., email, password, name), and follow the prompts to complete registration.
3. Navigate to Security Guards
- After logging in, locate the left-hand menu on the dashboard.
- Select "Security Guards" to view the list of all registered guards (Image 1).
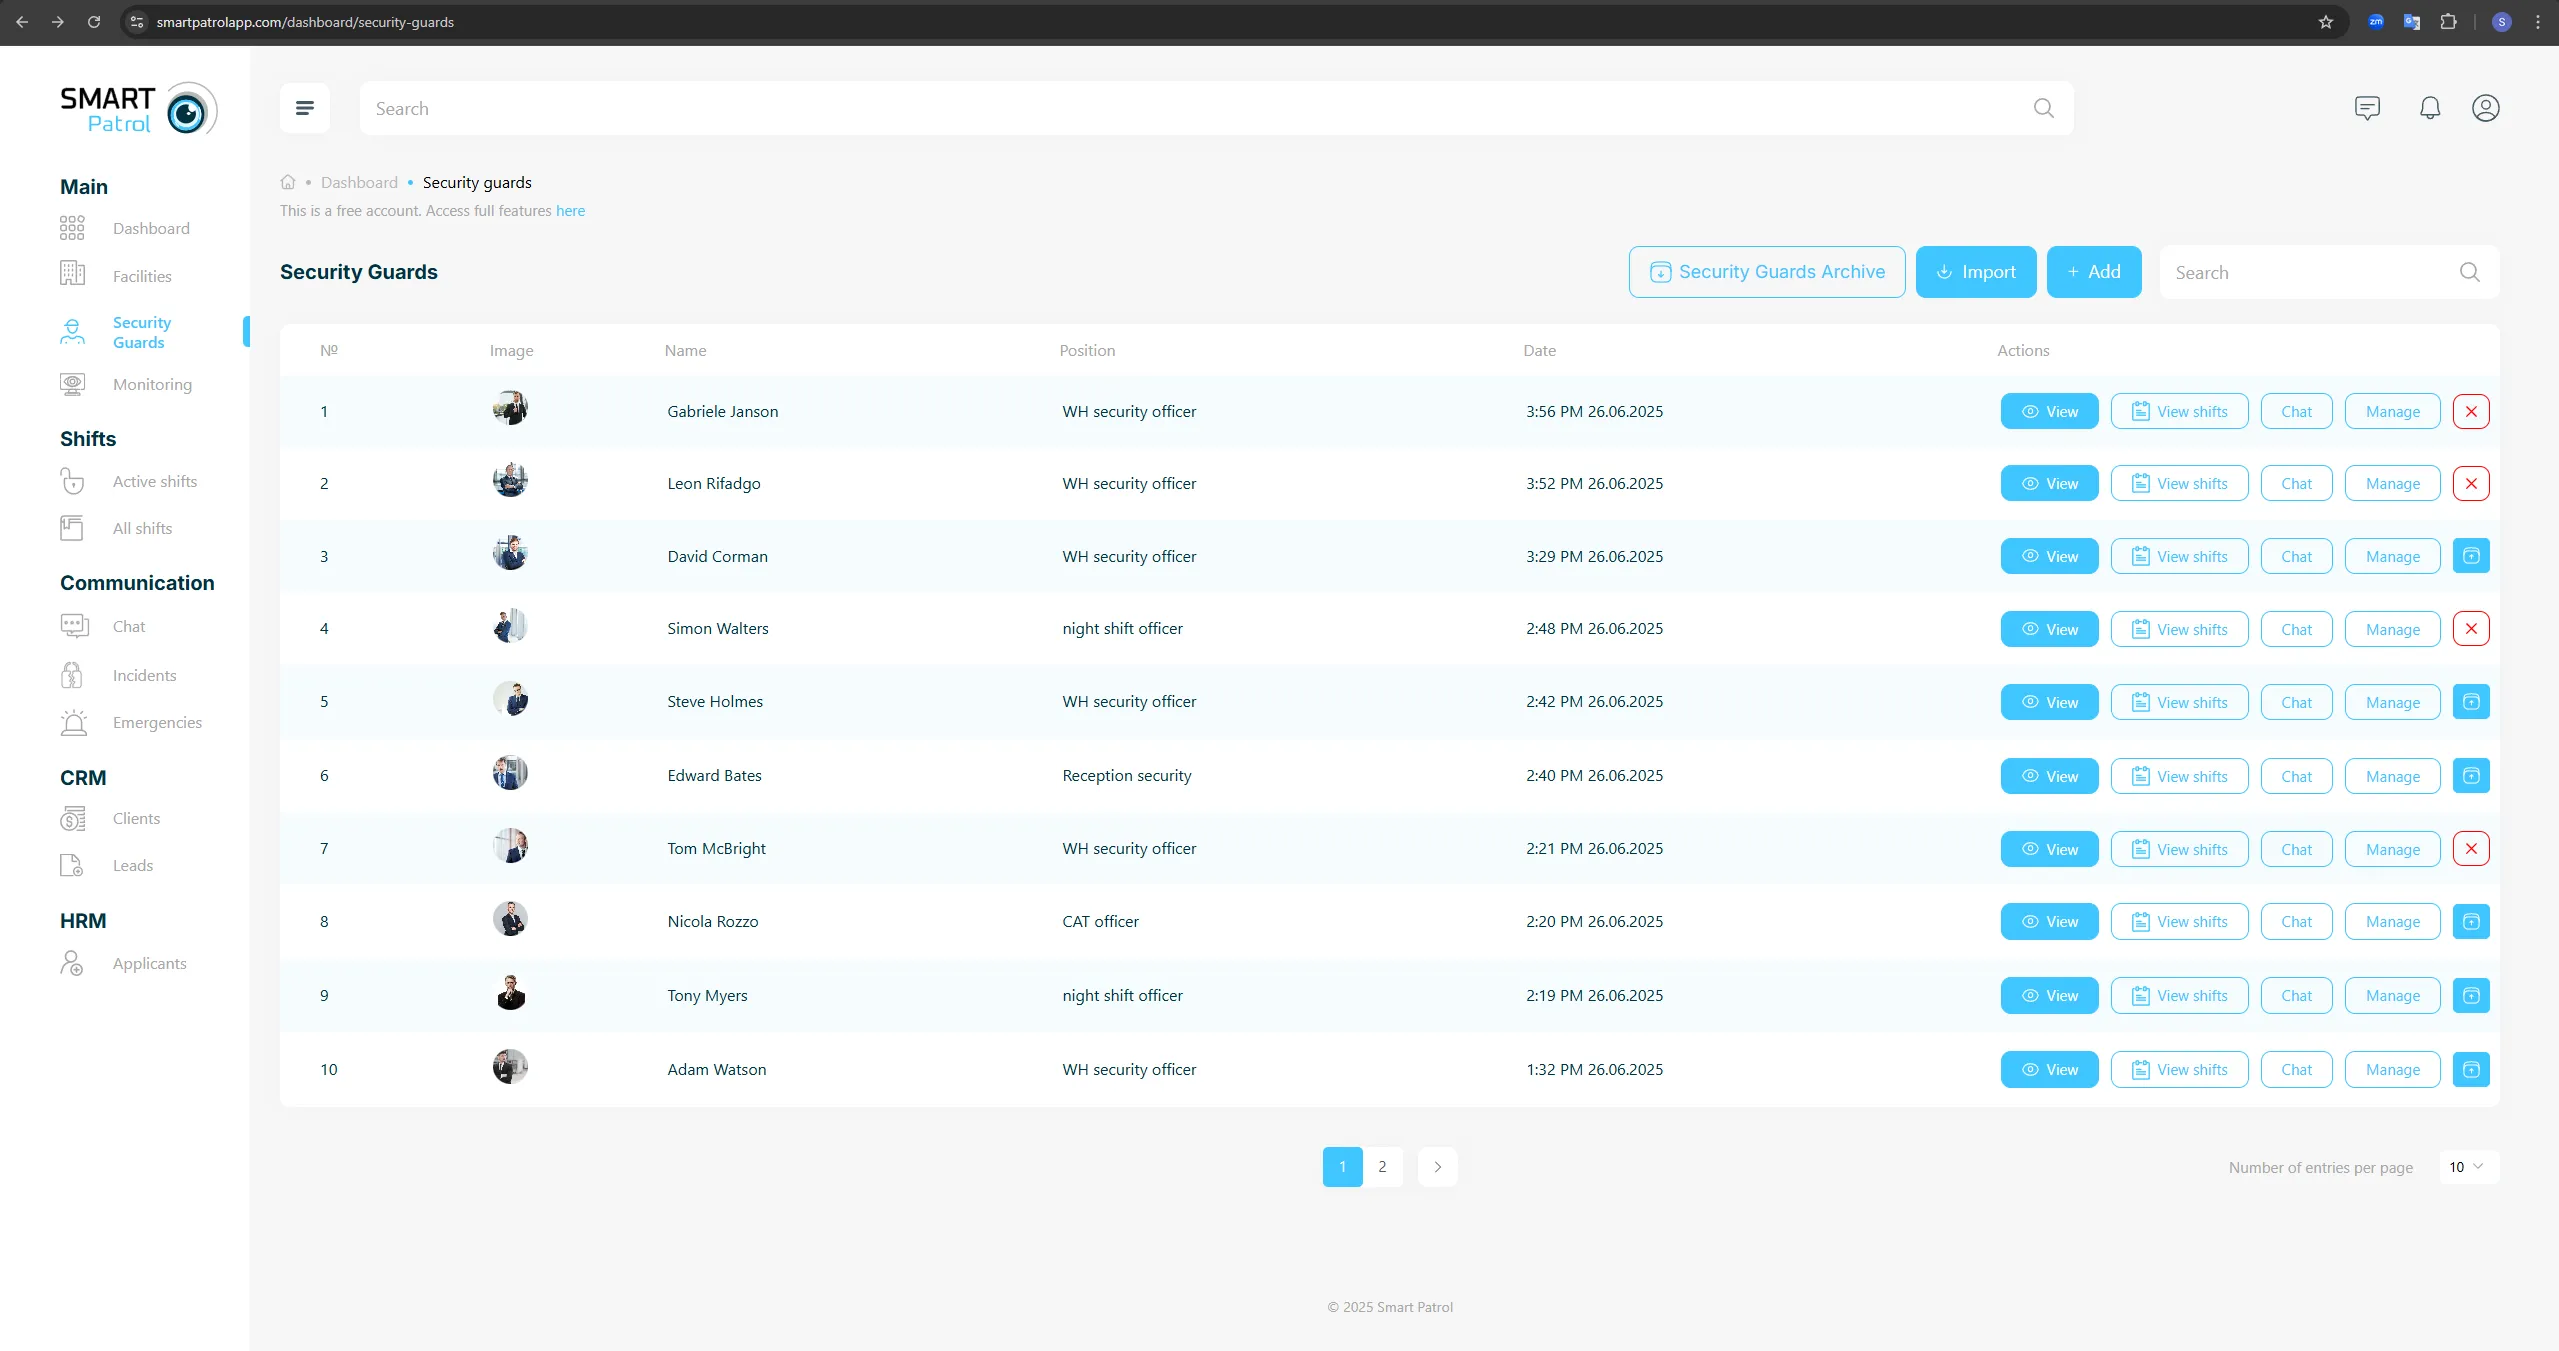
- The list includes the following details for each guard:
- Serial Number: A unique identifier for each guard.
- Preview Image: A small profile picture or avatar.
- Name: The full name of the guard.
- Job Position: The role or title of the guard (e.g., Patrol Officer, Supervisor).
- Time and Date Added: When the guard was added to the company.
- Action Buttons: Options to interact with the guard’s profile:
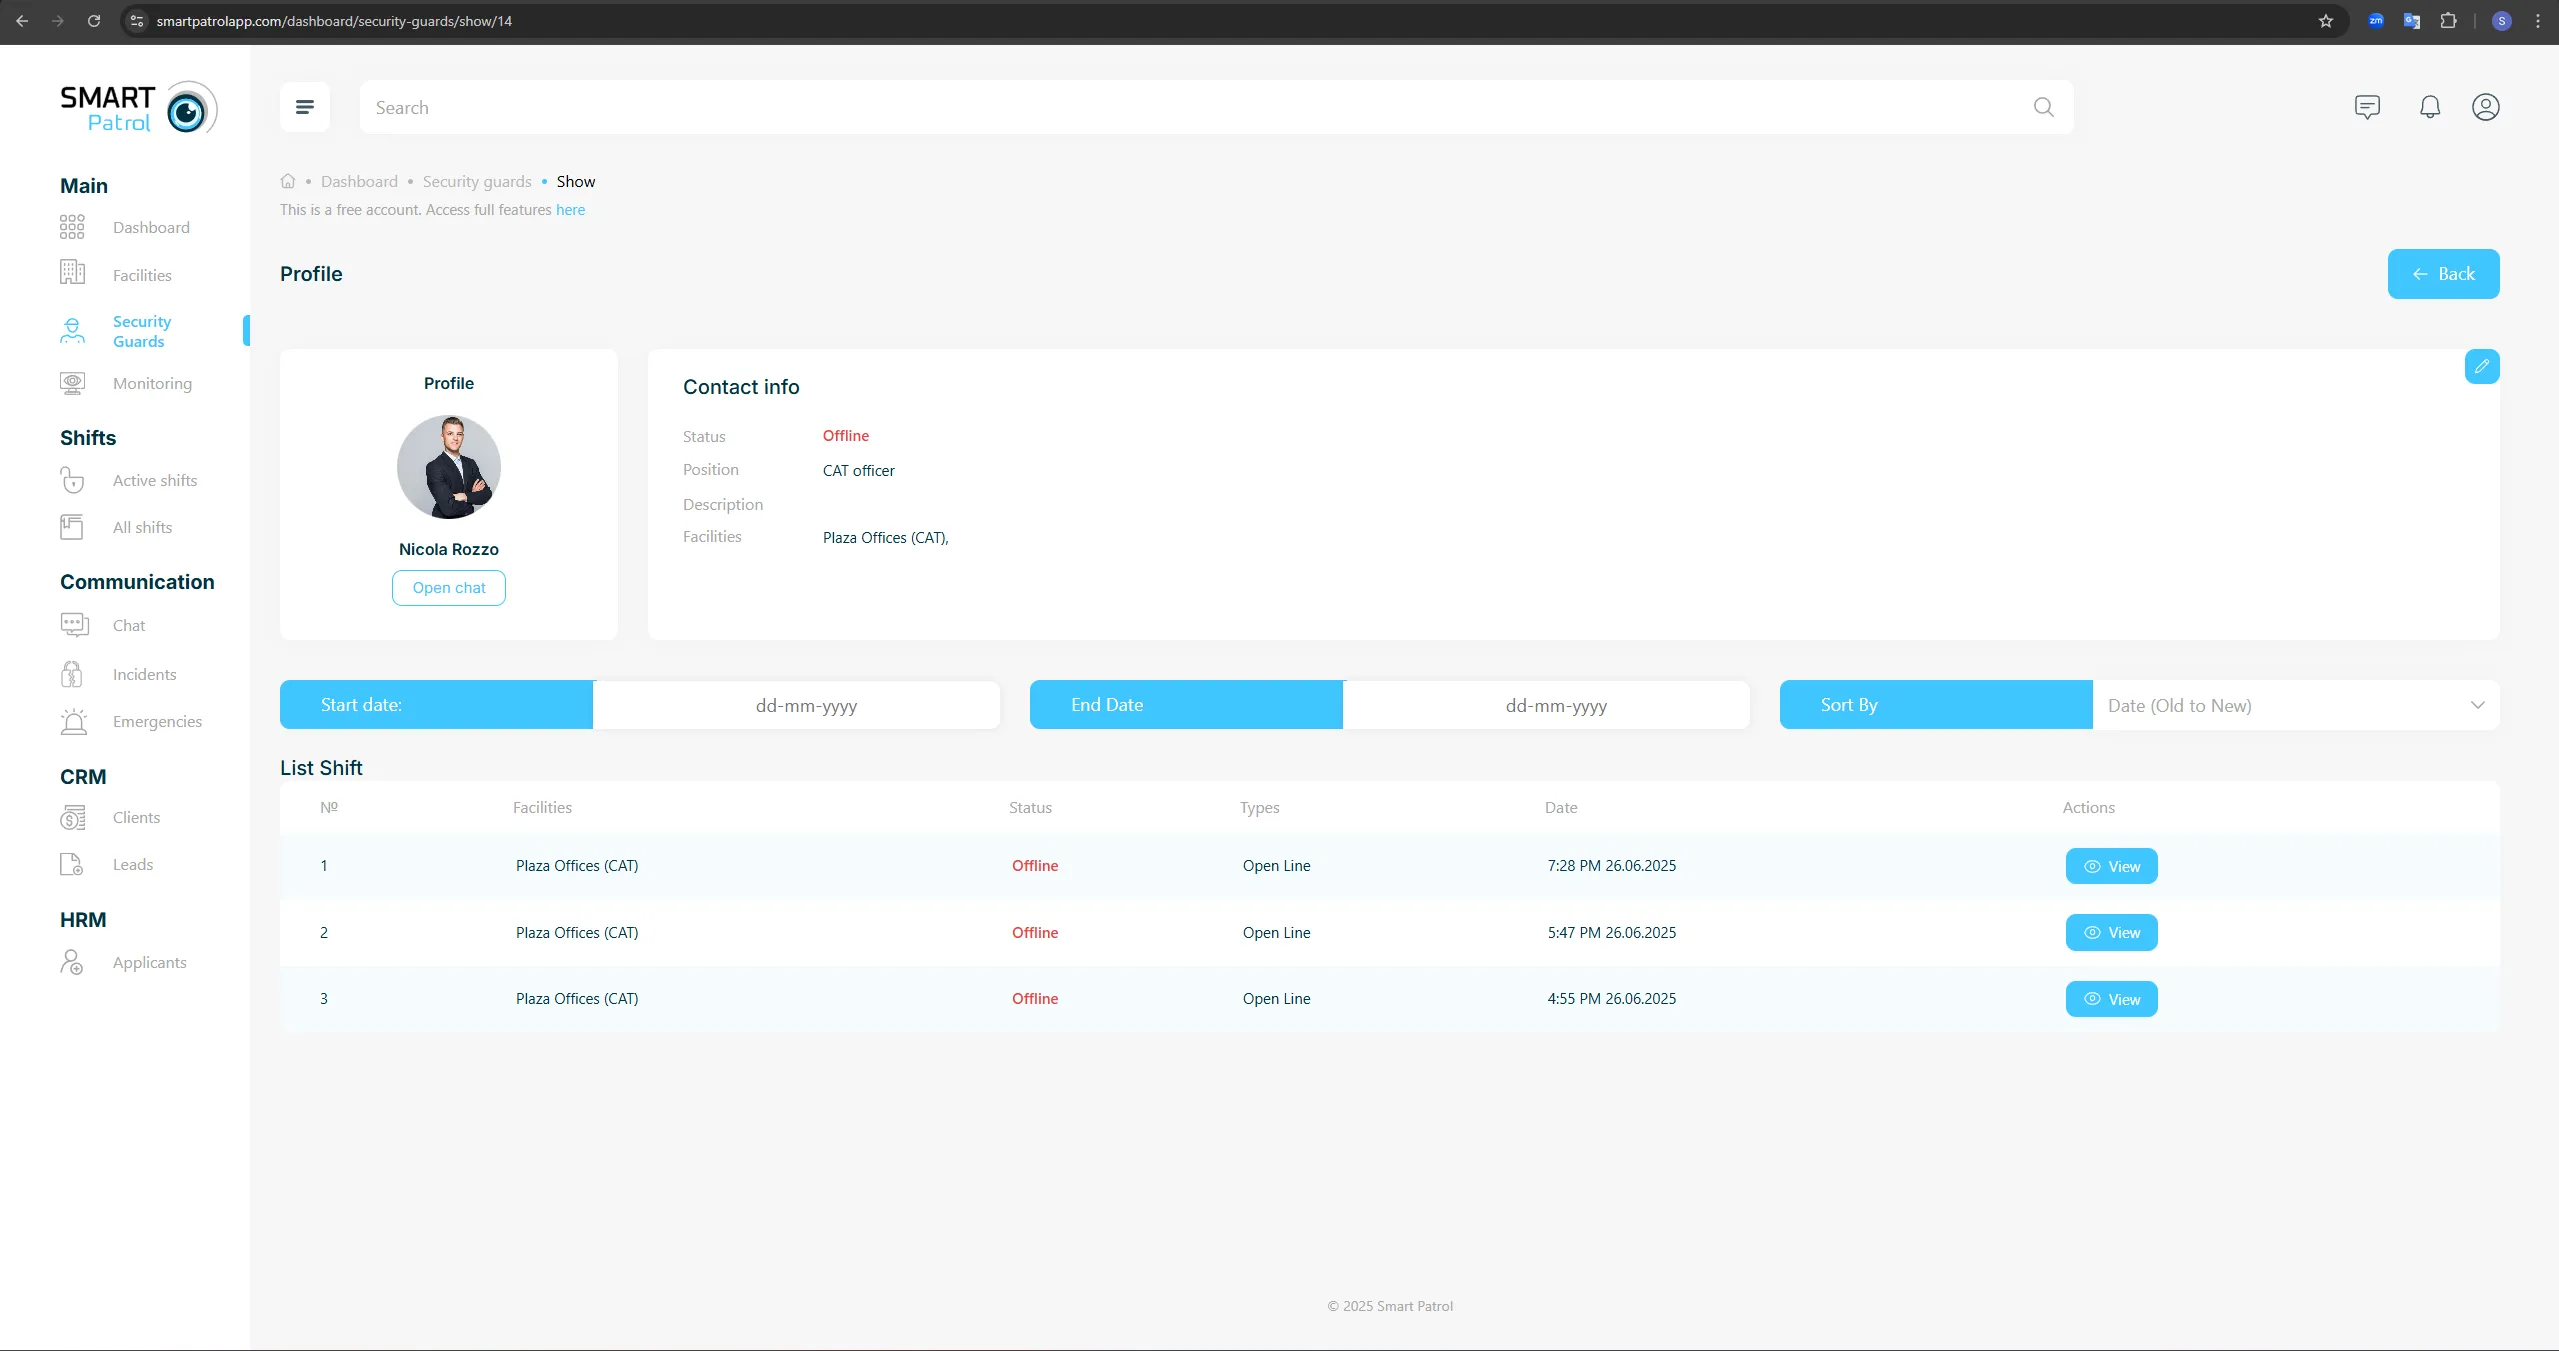
- View: Opens the guard’s detailed profile (Image 2).
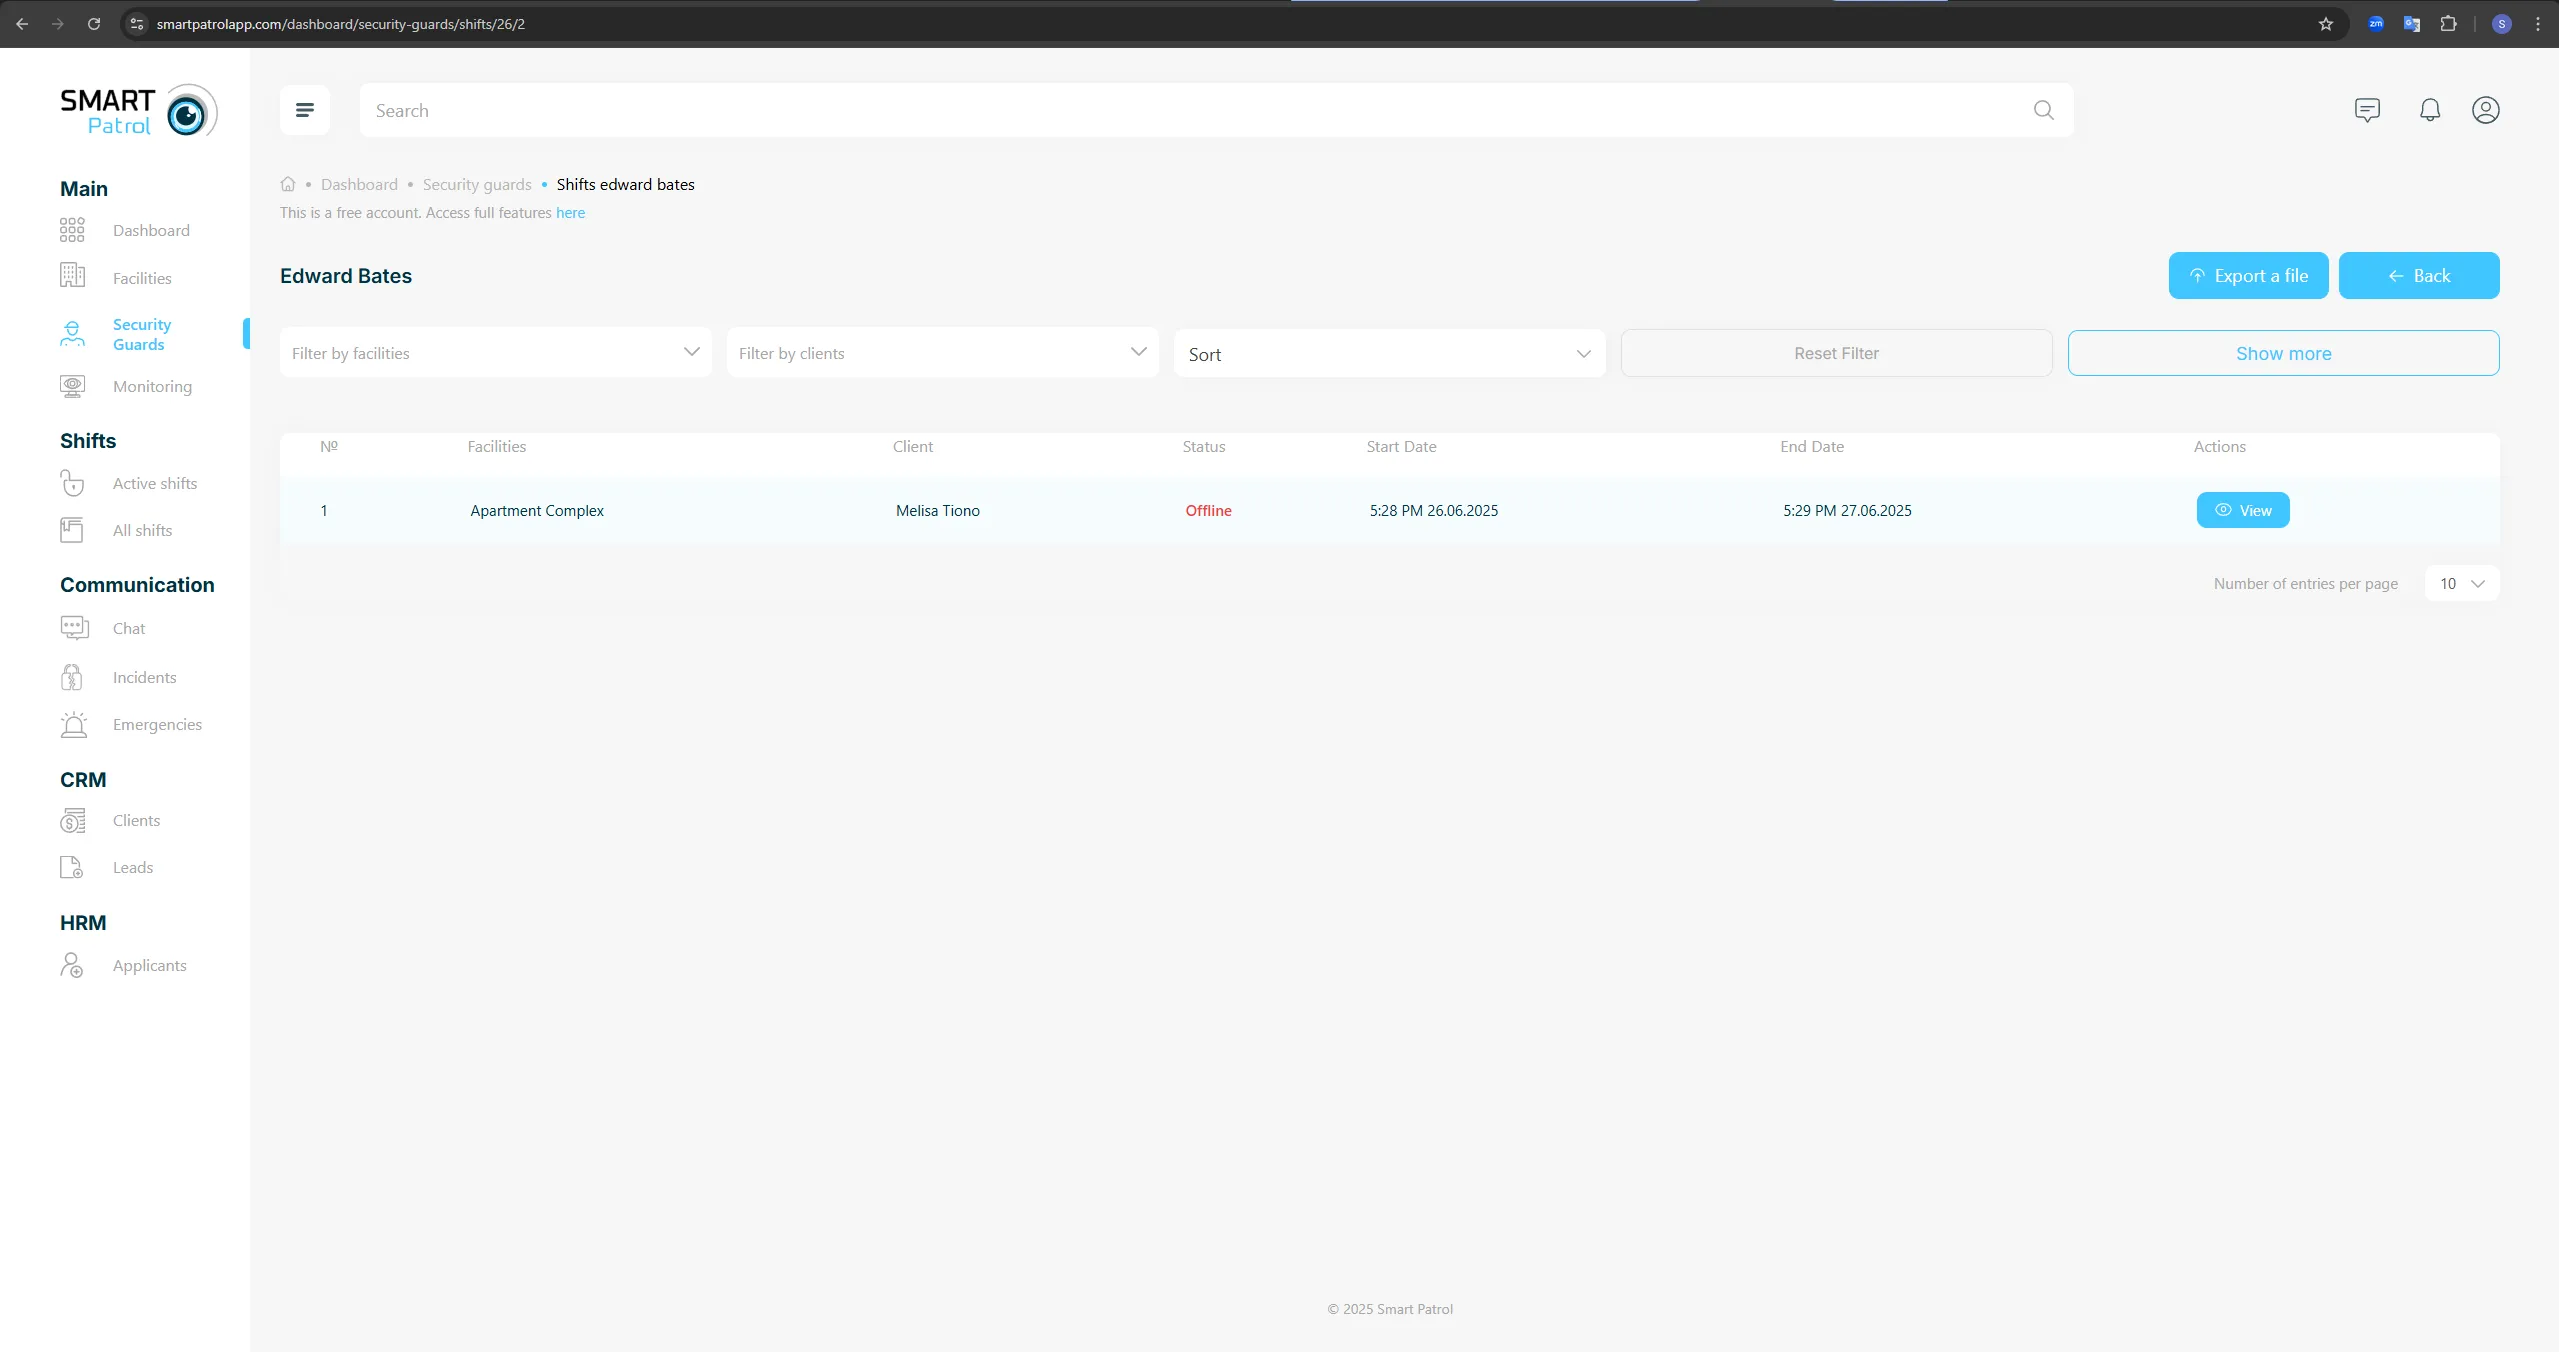
- View Shifts: Shows all shifts assigned to the guard (Image 3).

- Chat: Opens a direct messaging interface with the guard.
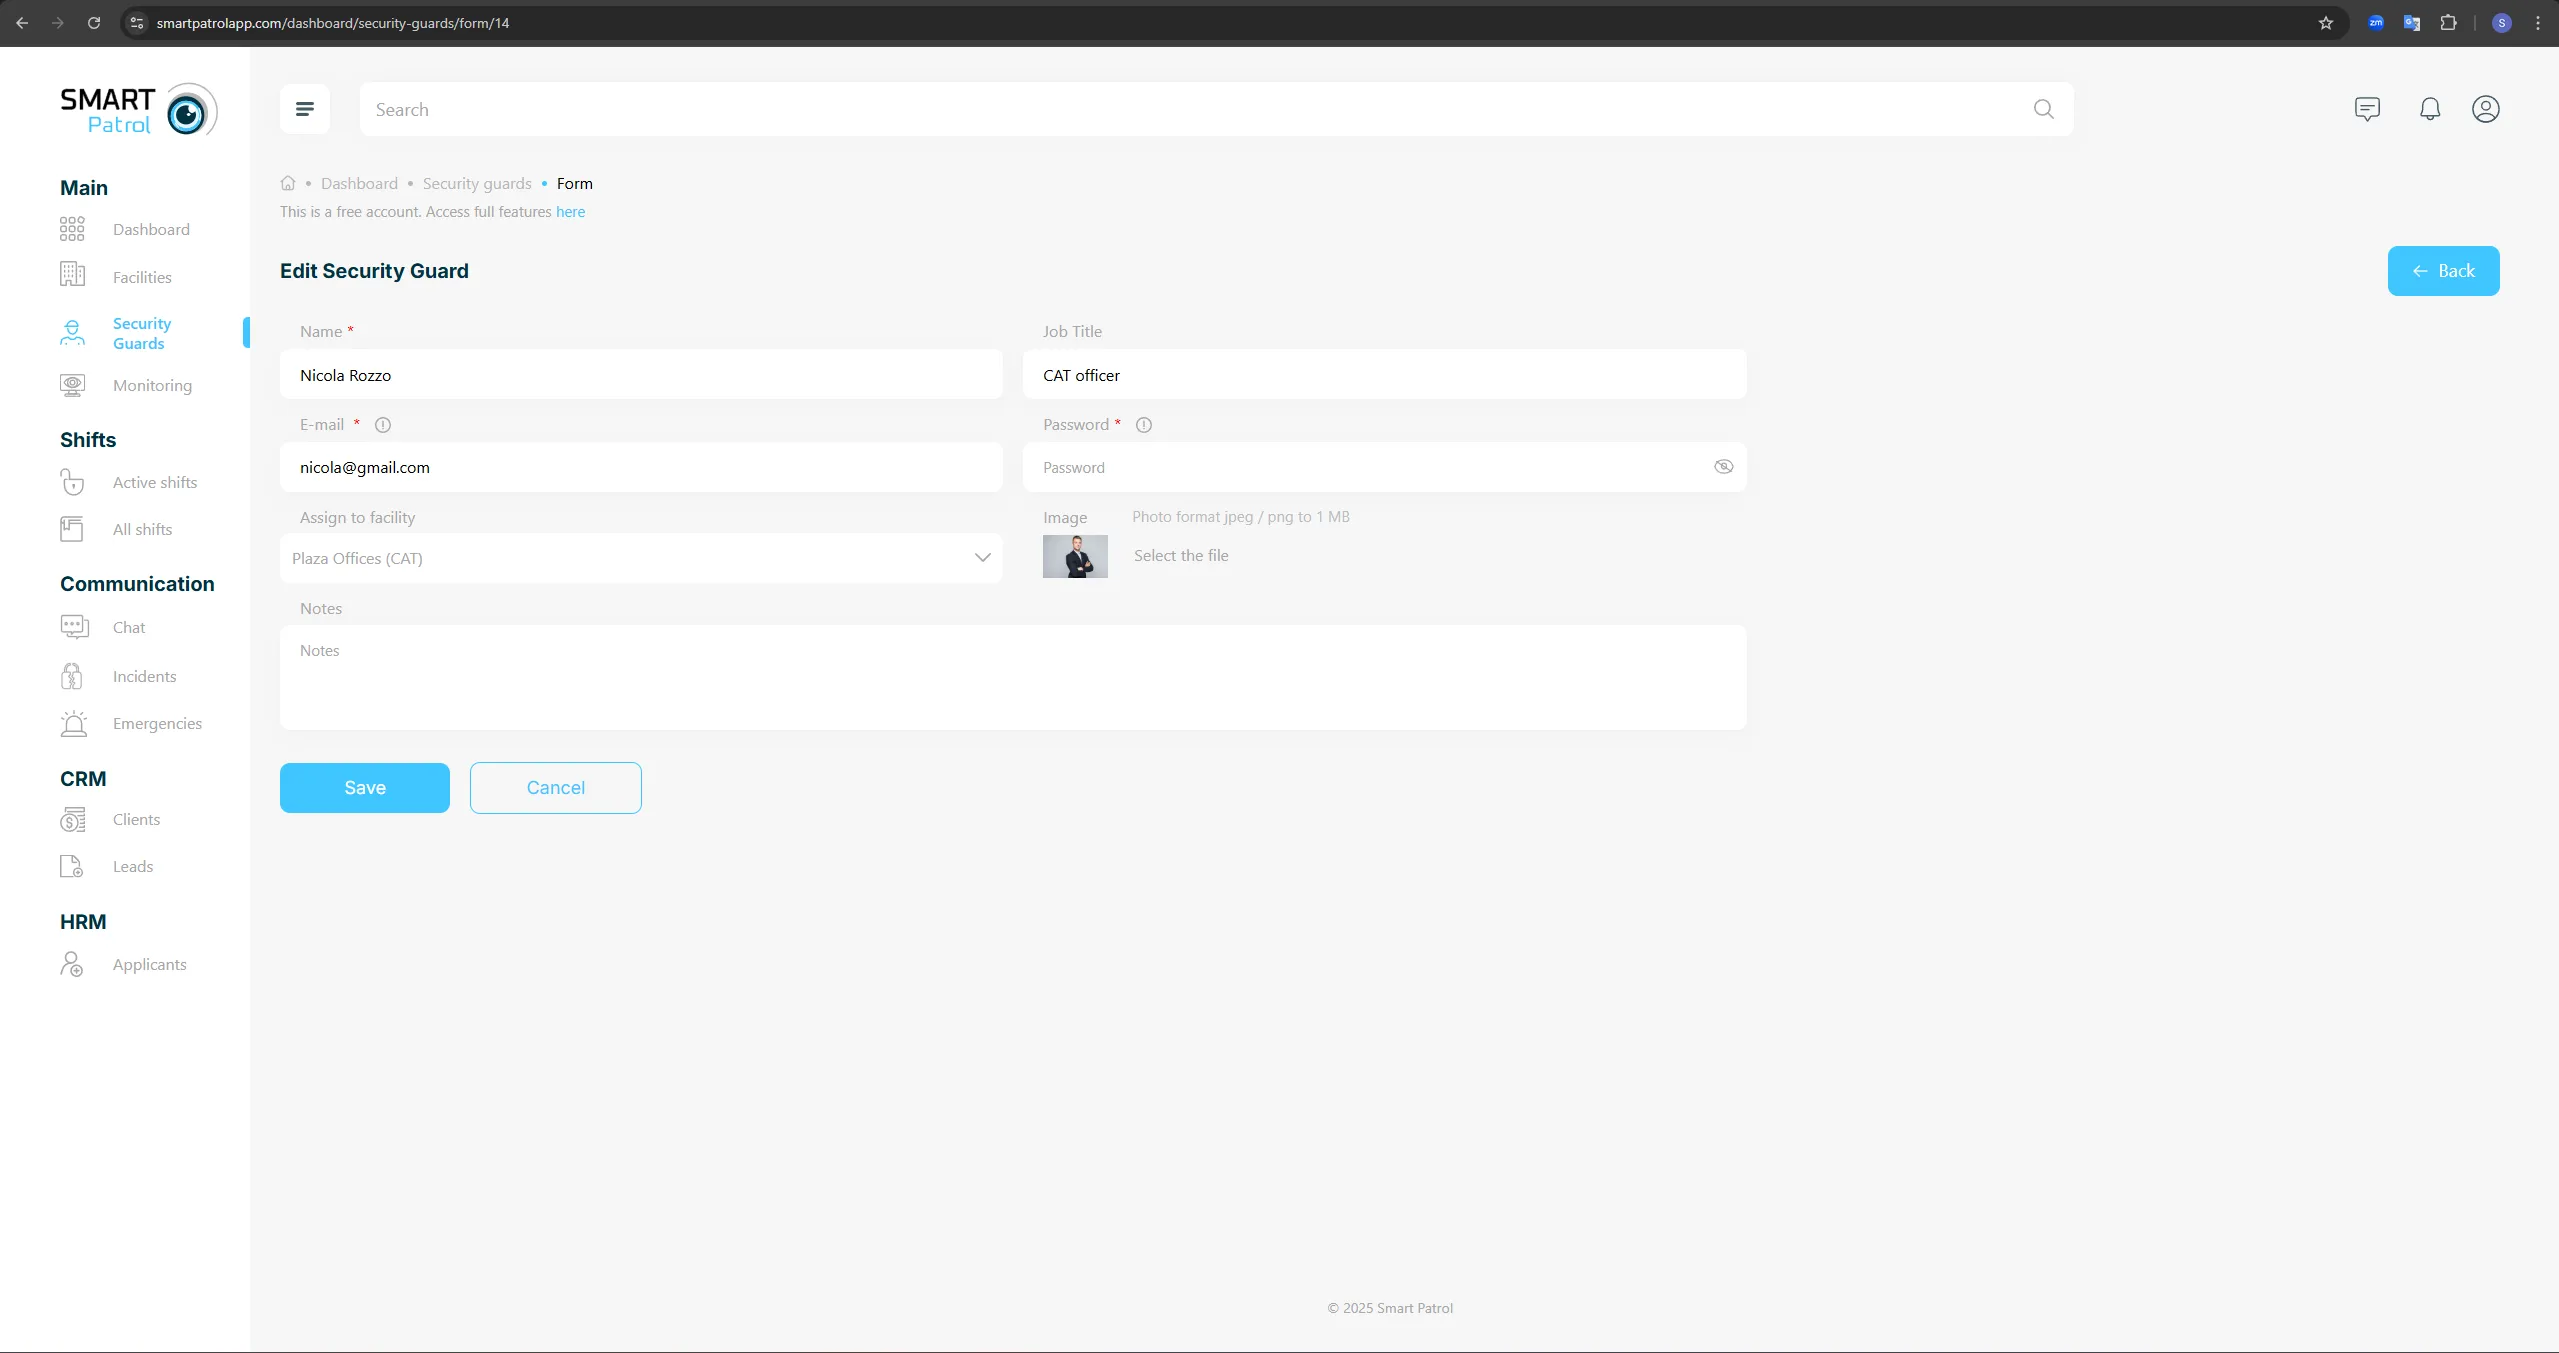
- Manage: Allows editing of the guard’s details (Image 4).

- Archive: Moves the guard’s profile to archived status, with an option to delete it.
4. Perform Actions
- View: Click the "View" button to access and review the guard’s full profile, including personal details, contact information, and employment history.
- View Shifts: Click the "View Shifts" button to see the guard’s current and past shift schedule, including dates, times, and statuses (Image 3). You can also assign or modify shifts from this view if permitted.
- Chat: Click the "Chat" button to send messages or receive updates directly from the guard.
- Manage: Click the "Manage" button to edit the guard’s profile (Image 4). Update fields such as contact details, job position, or emergency contacts, then save changes.
- Archive: Click the "Archive" button to move an inactive guard to the archive. Confirm the action, and if needed, select "Delete" to permanently remove the profile.
Note: Archiving is reversible, but deletion is permanent—proceed with caution.
Additional Tips:
- Internet Connection: Ensure a stable connection for real-time updates and smooth navigation.
- Permissions: Some actions (e.g., editing or archiving) may require administrative access—contact support if you encounter restrictions.
- Updates: Regularly check the website for new features or interface changes.
