Attention! Images are for informational purposes only and may differ from what appears on your screen.
Follow these steps to view the history of all shifts on the Smart Patrol web platform:
1. Access the Website
- Open your browser and navigate to https://smartpatrolapp.com.
2. Log In or Create an Account
- Log in to your existing account using your credentials. If you don’t have an account yet, create a new one by following the registration process on the website.
3. Navigate to All Shifts
- Once logged in, locate the left sidebar menu.
- Under the “Shifts” section, select “All Shifts” to access the page displaying the history of shifts for all security guards (Image 1).
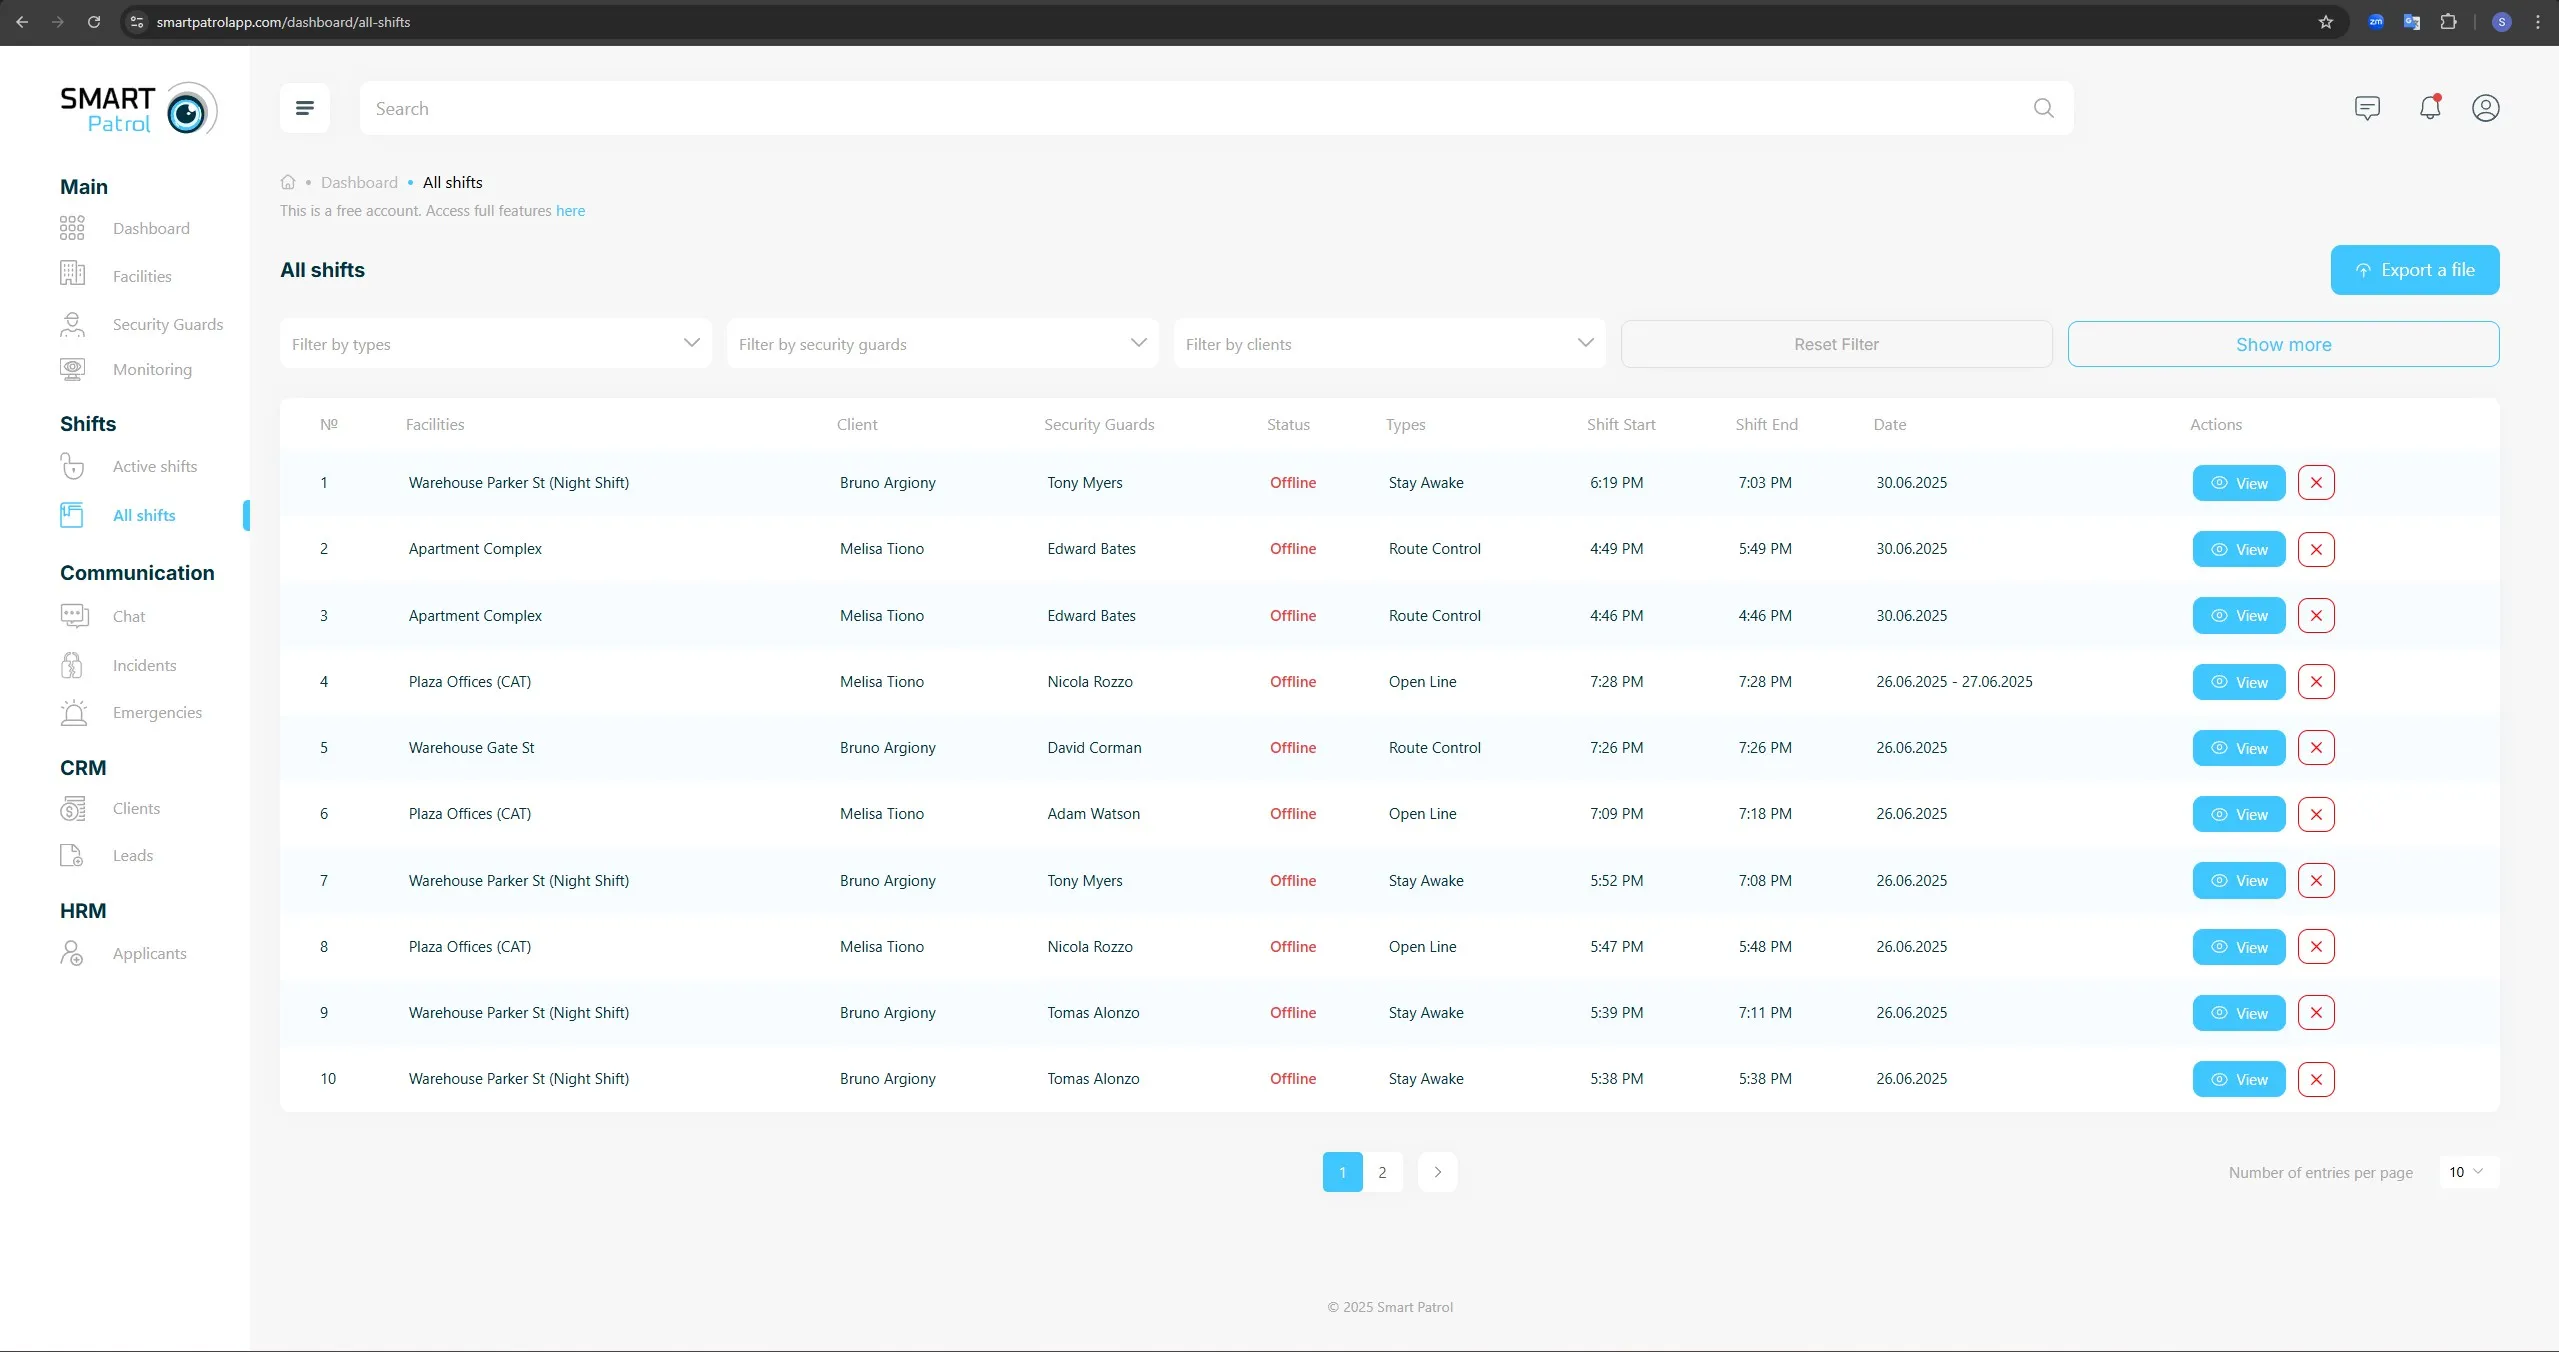
- The "All Shifts" page shows a table with columns including:
- Guard Name
- Facility
- Shift Type
- Start Time
- End Time
- “View” button for detailed information.
4. Filter Shifts (Optional)
- Use the filters at the top of the page (e.g., Guard Name, Date Range) to narrow down the list to specific guards or time periods if needed.
- Click "Apply" to update the table with the filtered results.
5. View Shift Details
- Locate the desired shift in the table and click the "View" button in the corresponding row.
- This opens a detailed view of the shift.
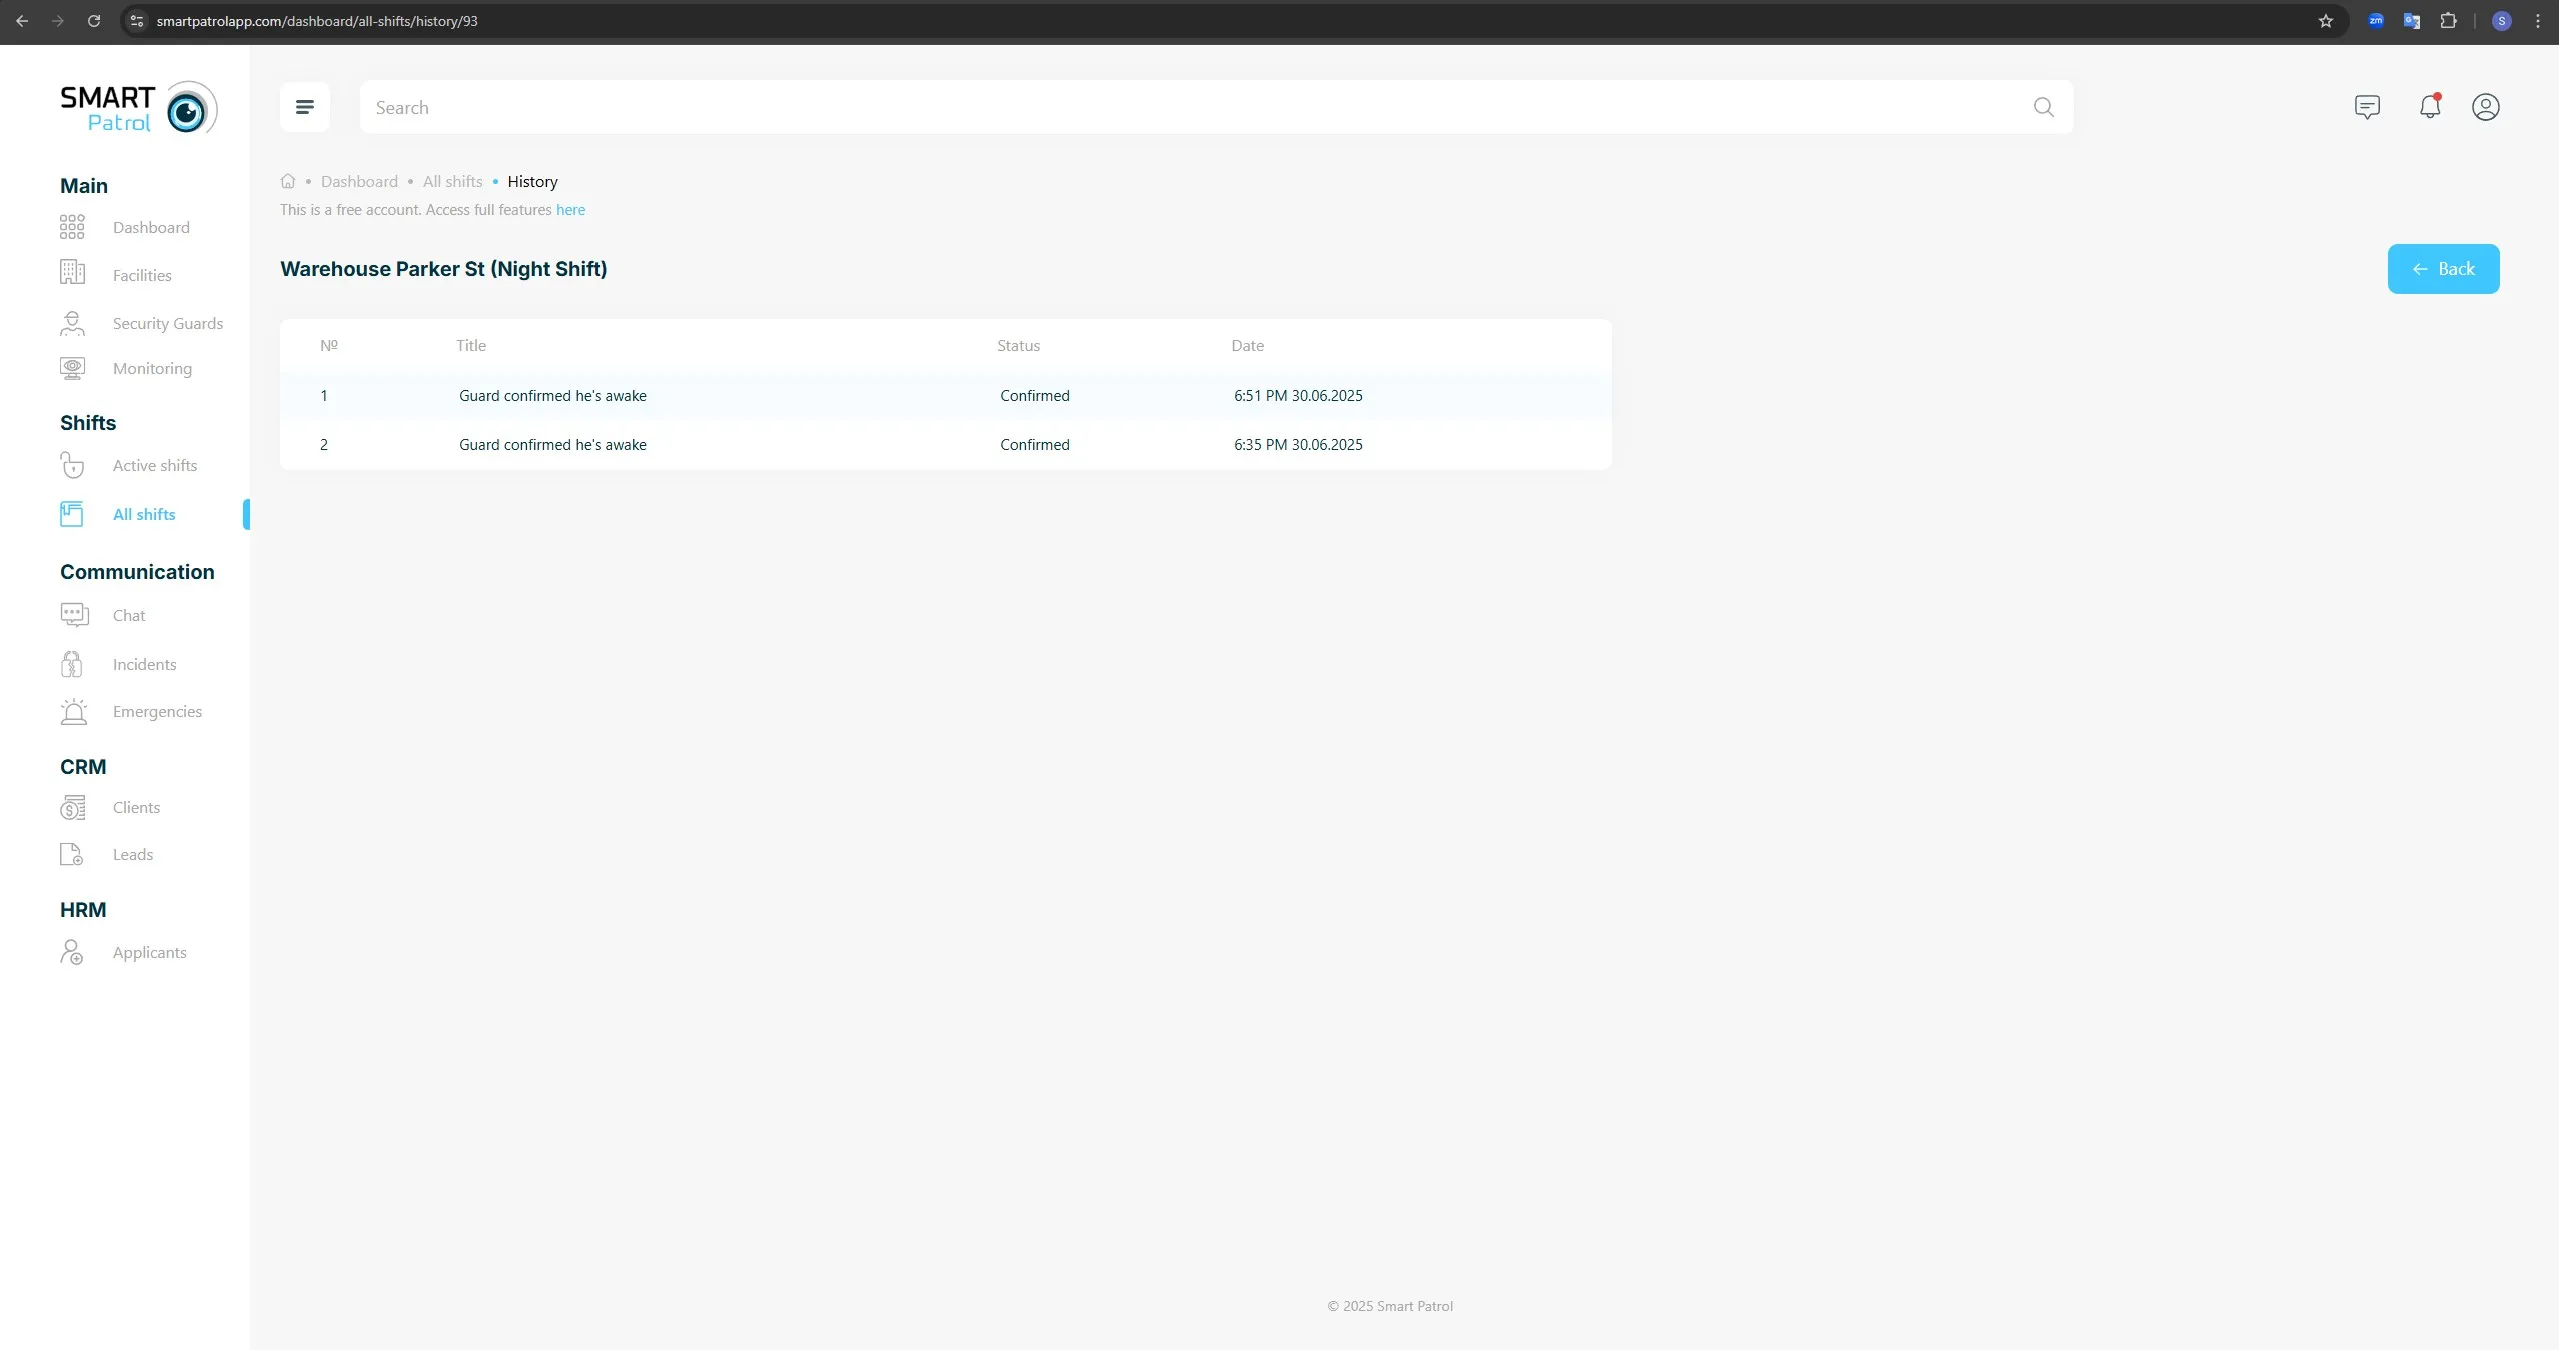
- For a “Stay Awake” shift (Image 2), you’ll see the guard’s responses to periodic wake-up notifications, including timestamps and confirmation status.
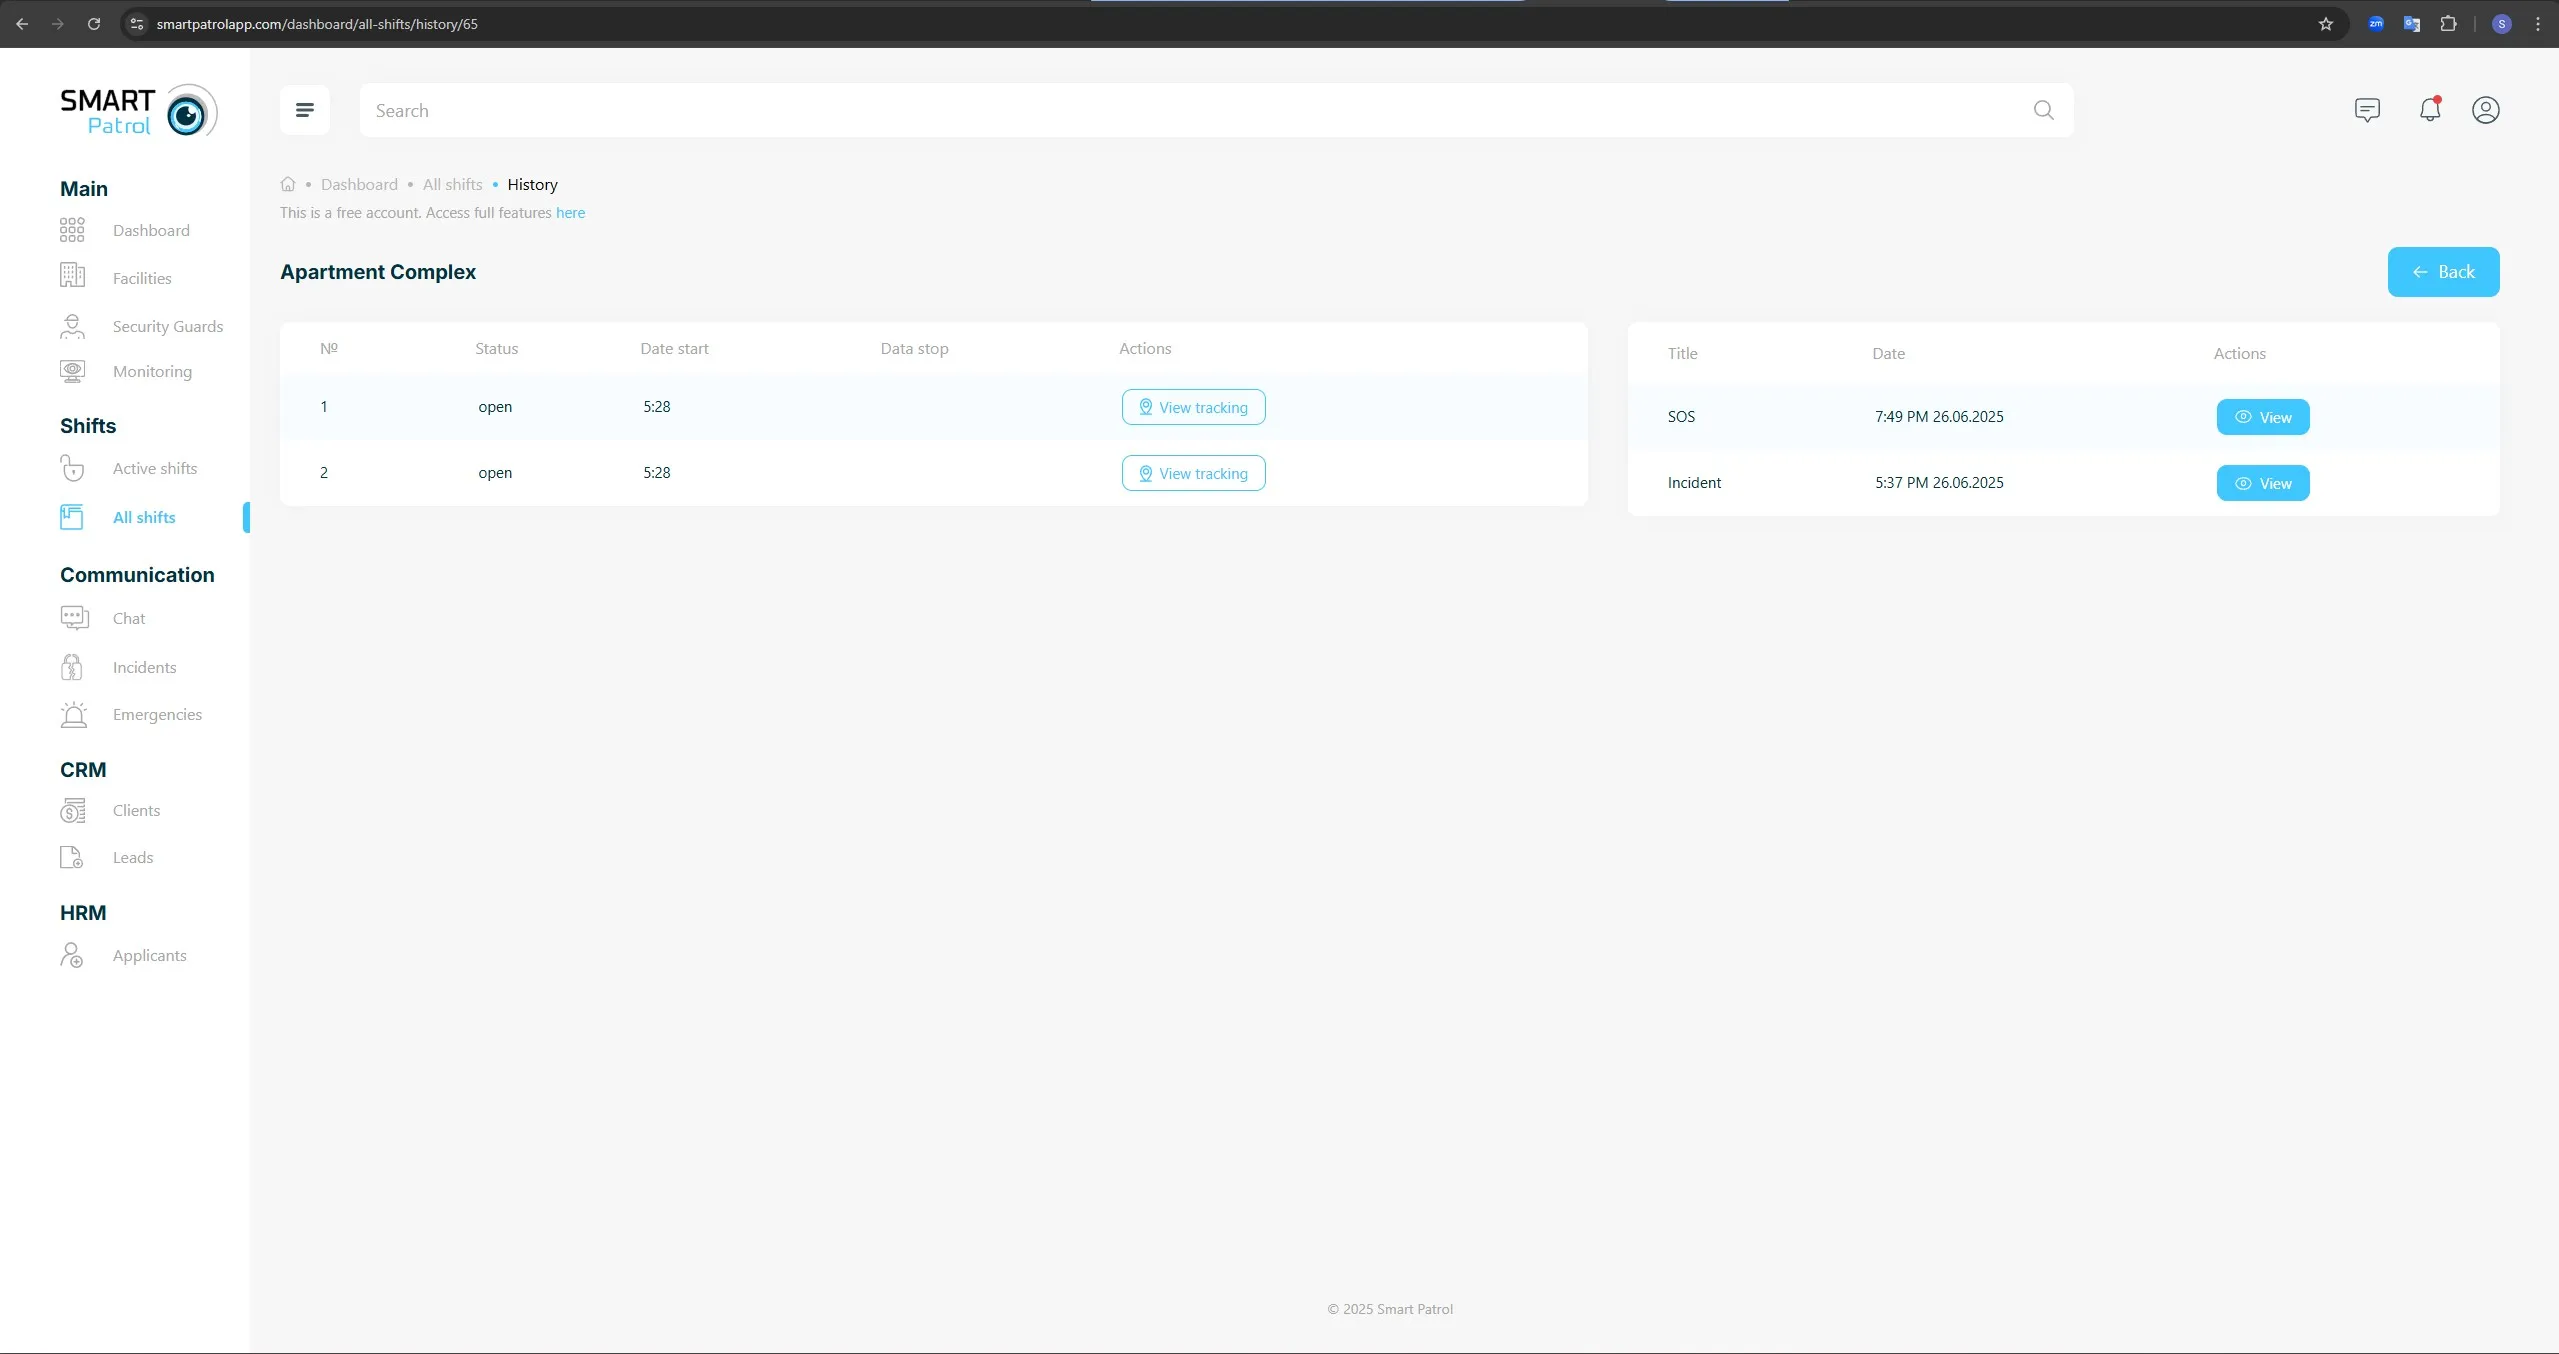
- For a “Route Control” shift (Image 3), the page displays the guard’s movement or patrol route, with a map or log of checkpoints visited.
6. Review and Analyze
- Check the shift details for compliance, such as timely responses in "Stay Awake" mode or complete patrol coverage in "Route Control" mode.
- Use the back arrow or "Close" button to return to the "All Shifts" list.
Note:
- Ensure the correct filters are applied to locate specific shifts.
